This slideshow requires JavaScript.
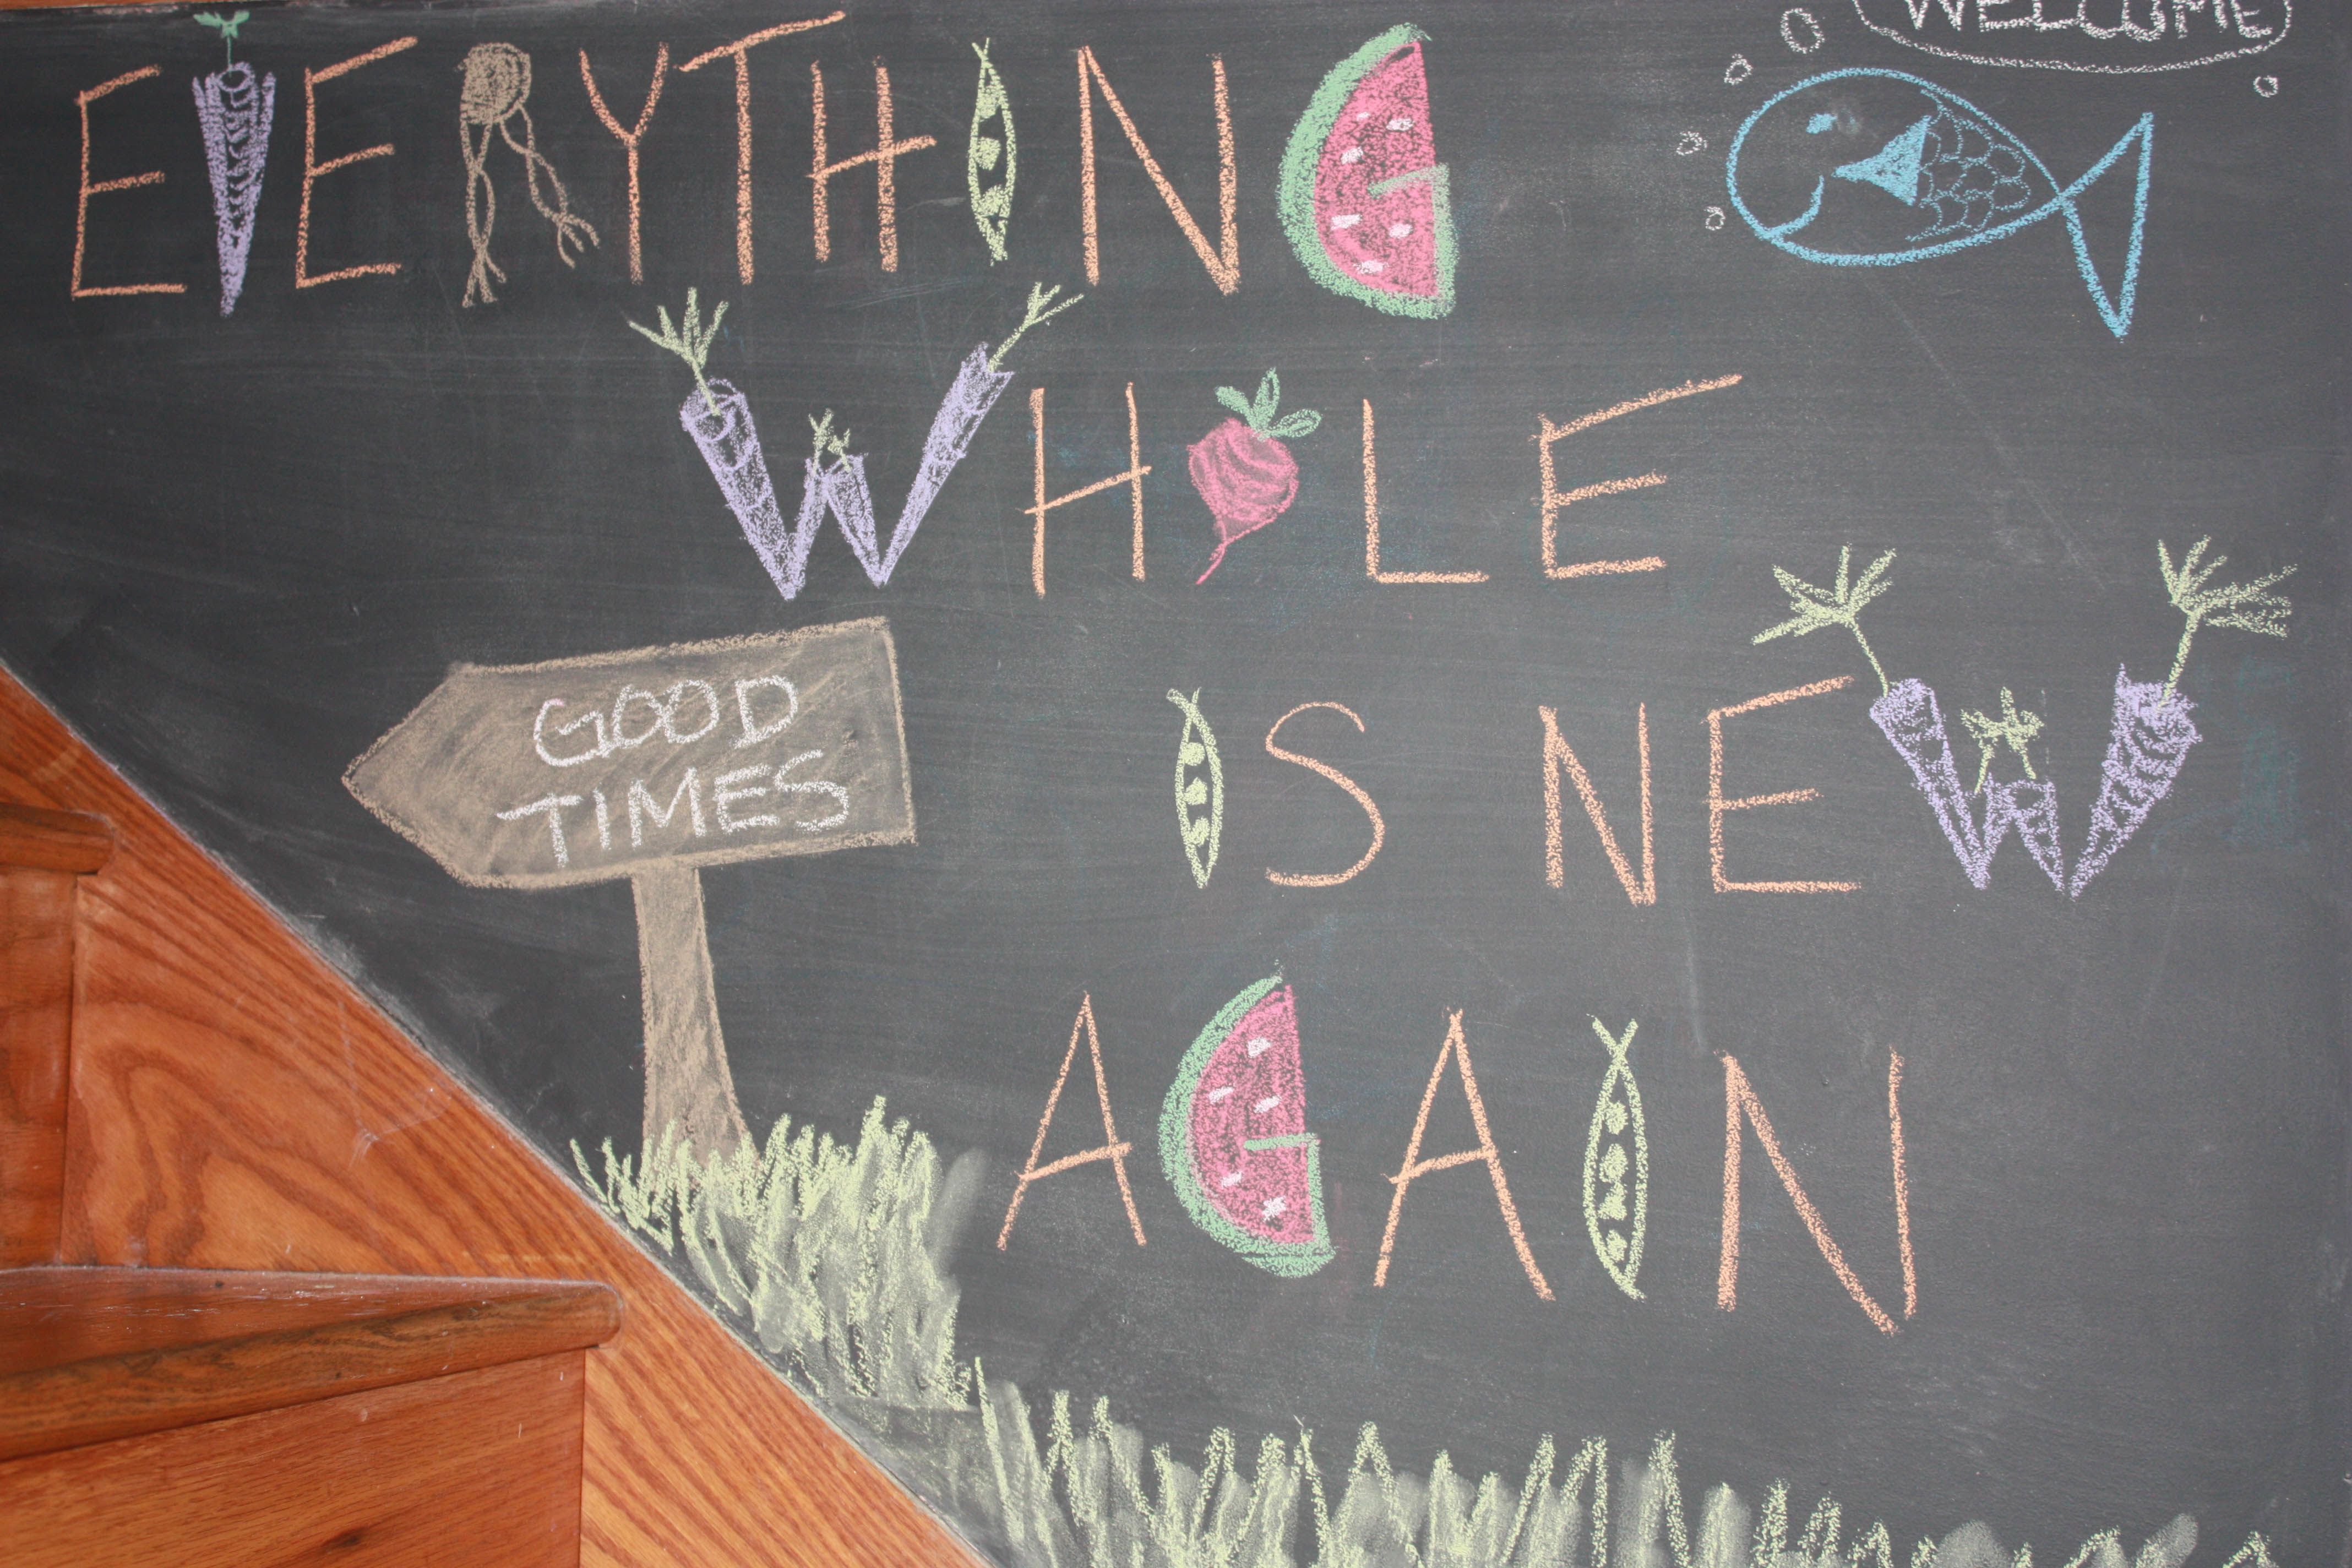
On a lazy Sunday afternoon two friends hatched a plan to trade one’s newly bottled homebrew for the other’s freshly caught stream trout. And they drank and they ate and they said it was good. So good, in fact, that they decided to share these fine things with 8 unsuspecting guests who knew not that they would be asked to eat frog legs and fish eyes, but who simply signed up for a dinner celebrating all whole foods. Everything Whole is New Again was on the calendar and the seats were full.
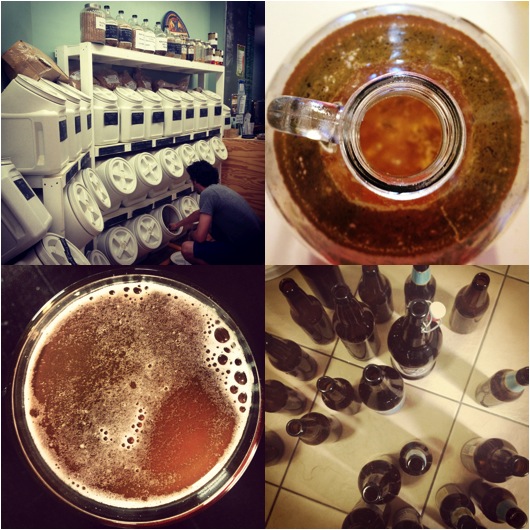
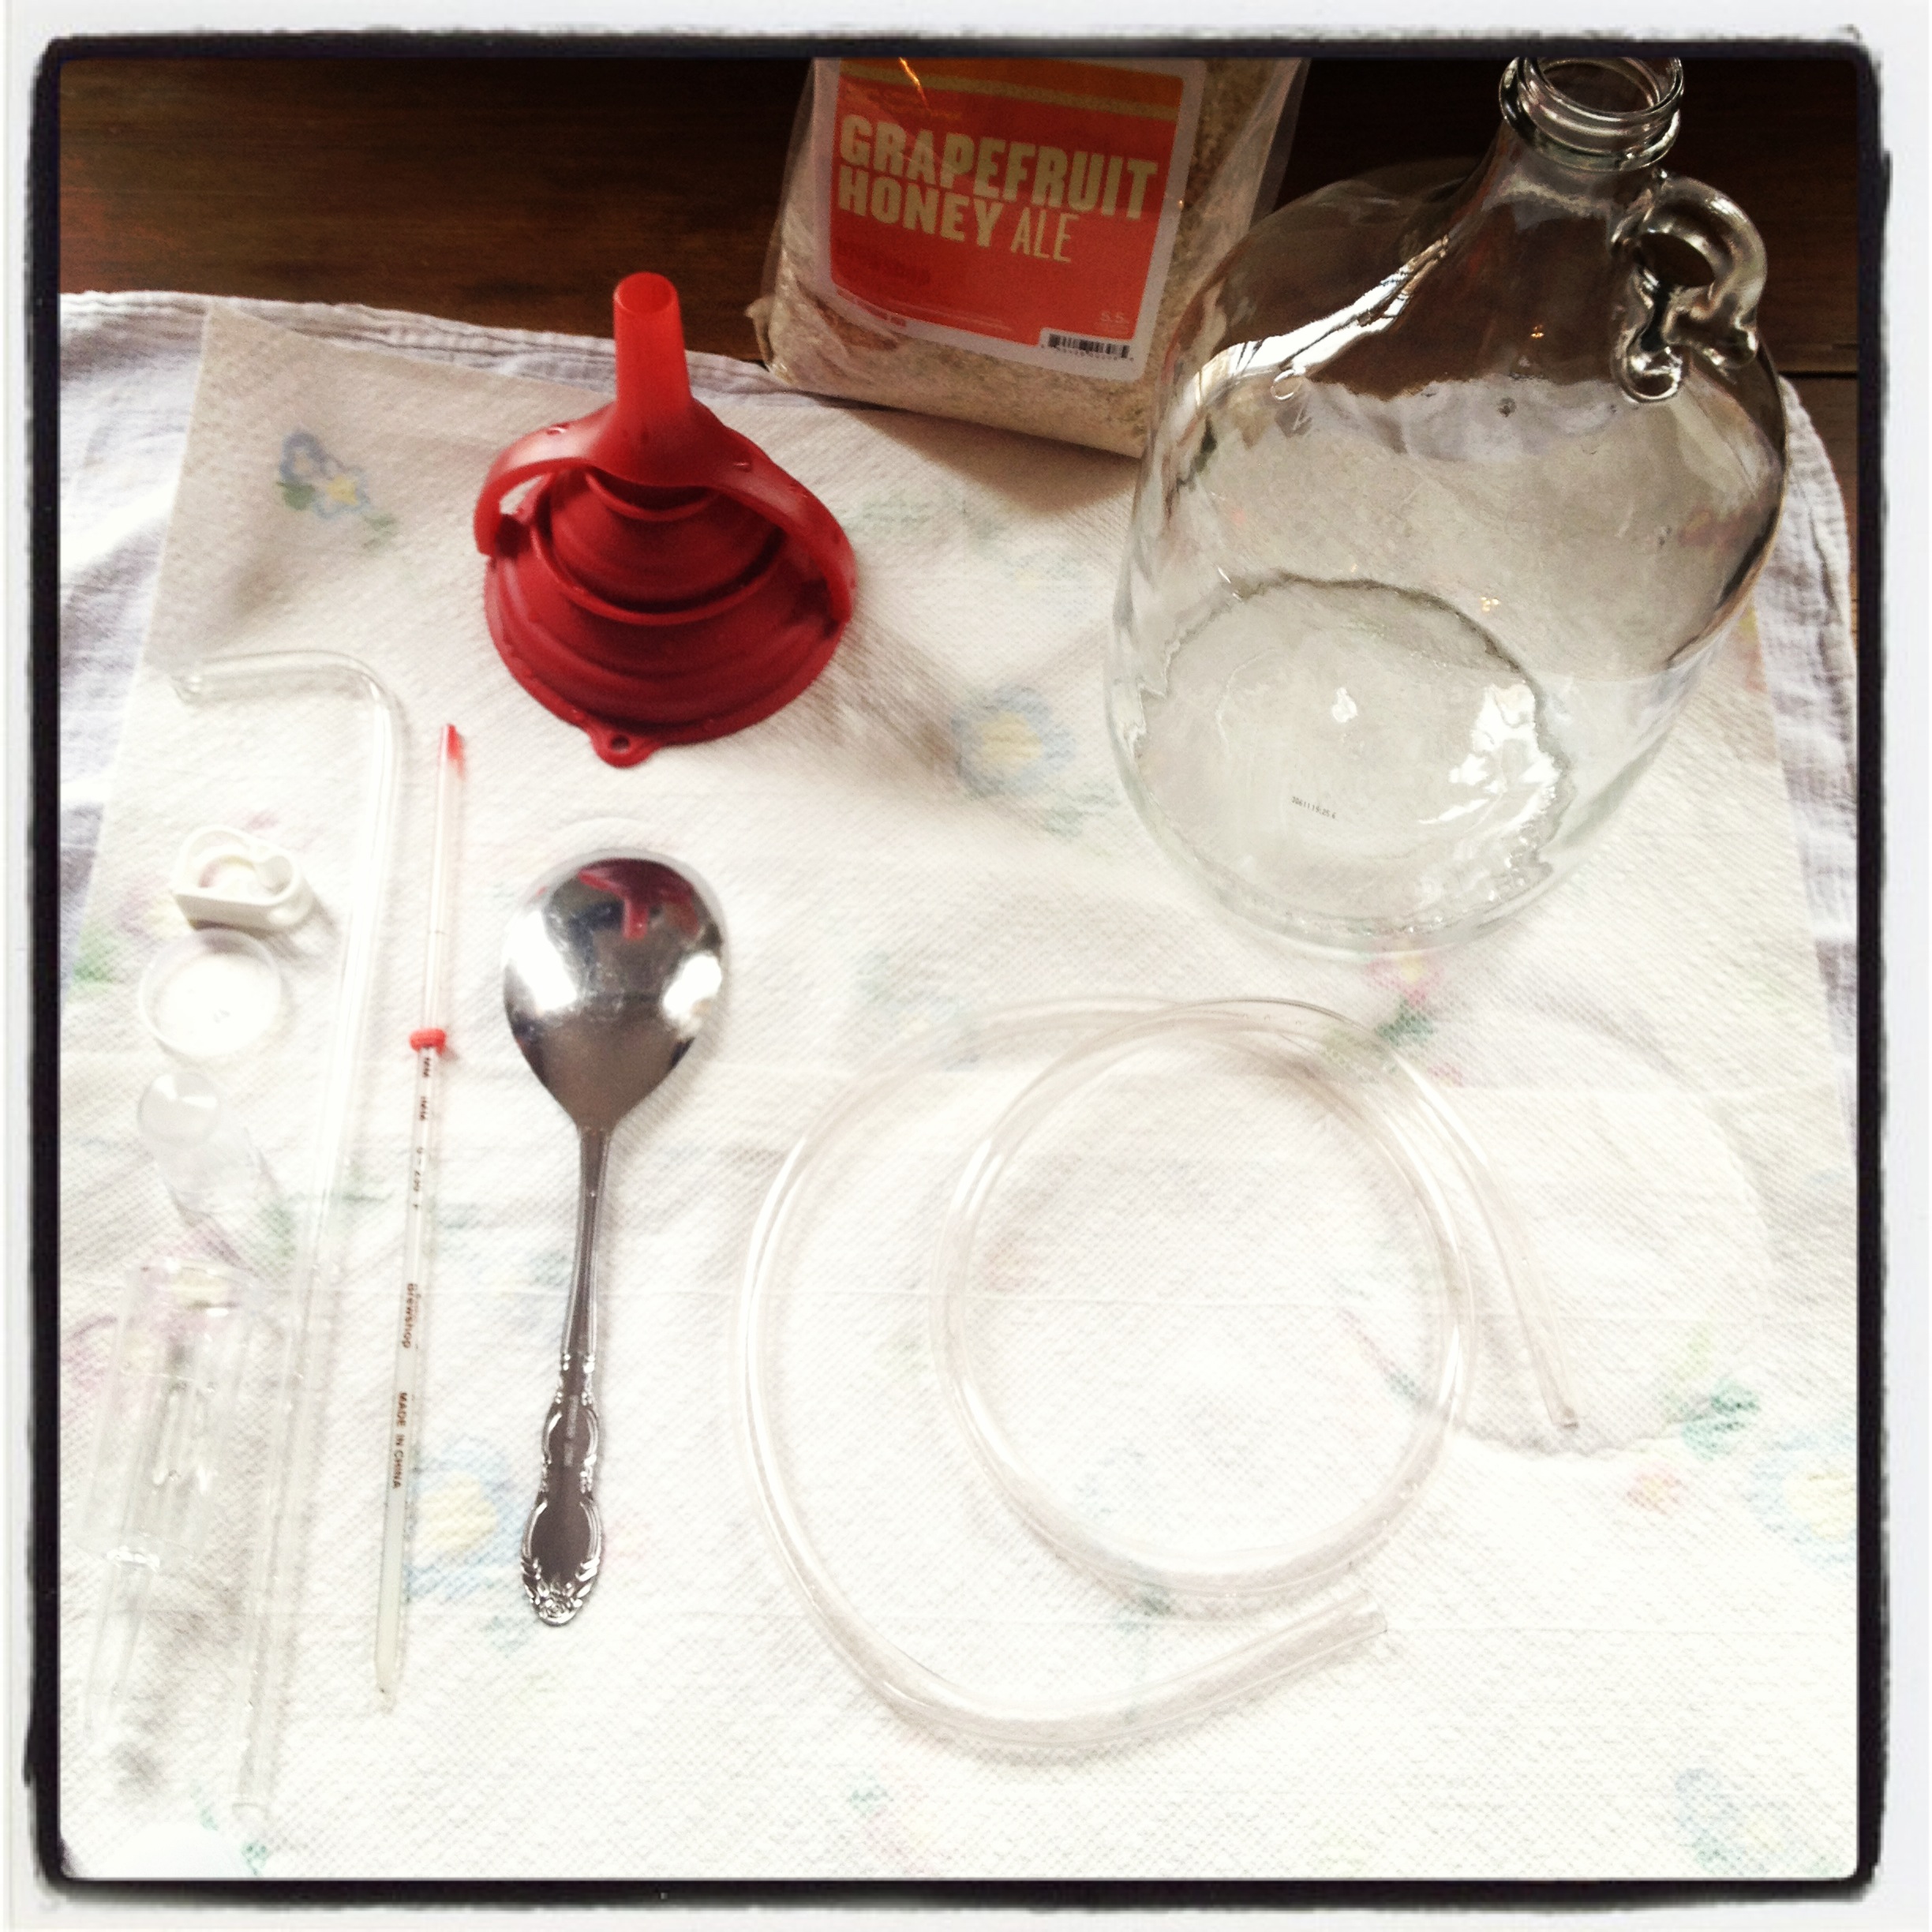
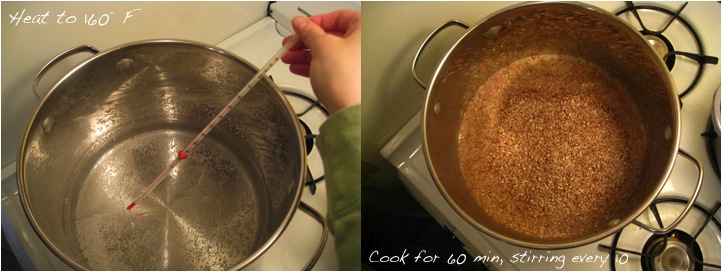
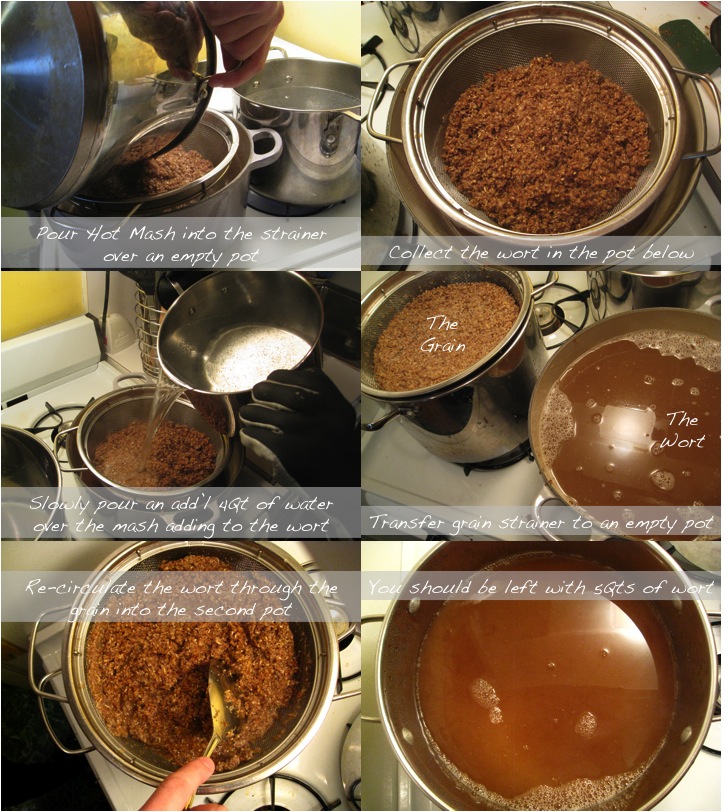
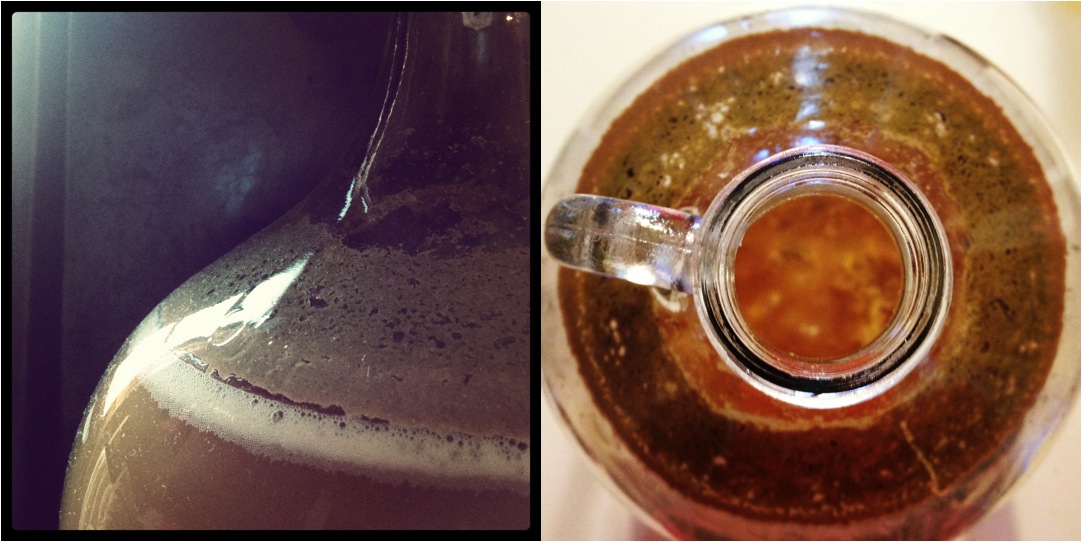
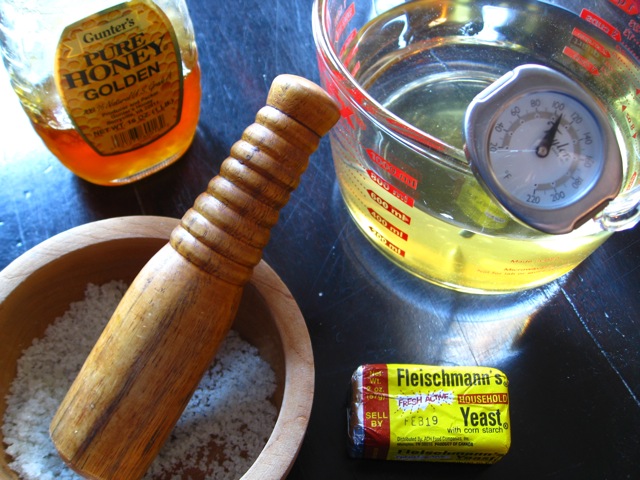
And so for the past six weeks, I was brewing, fermenting and bottling a 4 gallon batch of Yerba Mate Wheat, while Keith grabbed his fishing pole — and frog net — and stockpiled our bounty. The rest of the menu was filled in with local, seasonal fare, a lot of handmade goodness, and, as always, an abundance of chilled beverages.
The Menu {use of hands encouraged}:
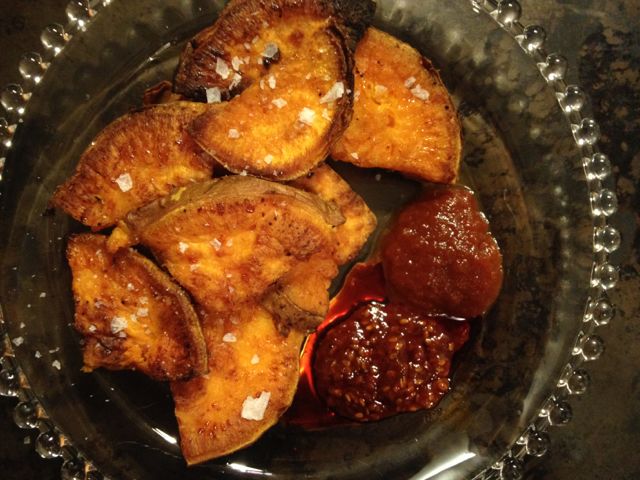
Local Market Bounty
w/ Bagna Cauda
Brown Butter Pond-Caught Frog Legs
Caught by Keith Gibson, Ghent, NY
w/ Yerba Mate Wheat Homebrew, NY
⌘
Balsamic-Drizzled Watermelon Steak
Topped with Feta, Rooftop Mint and Pistachios
w/ 2012 Reichsrat von Buhl Pinot Noir Rose, Germany
⌘
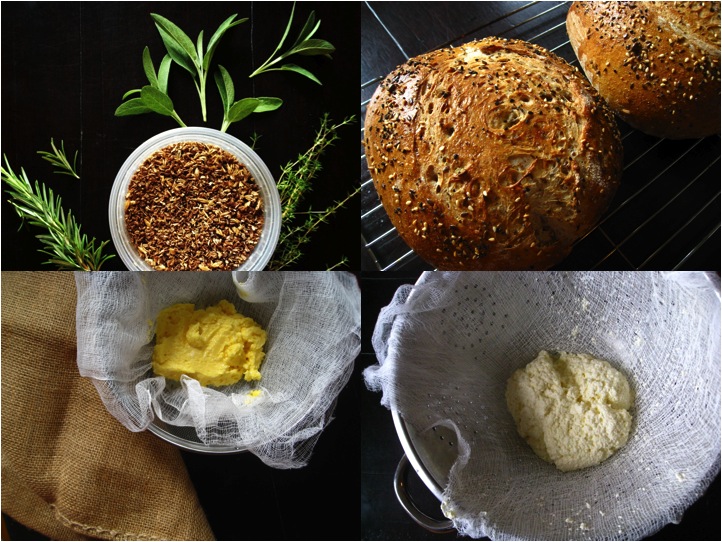
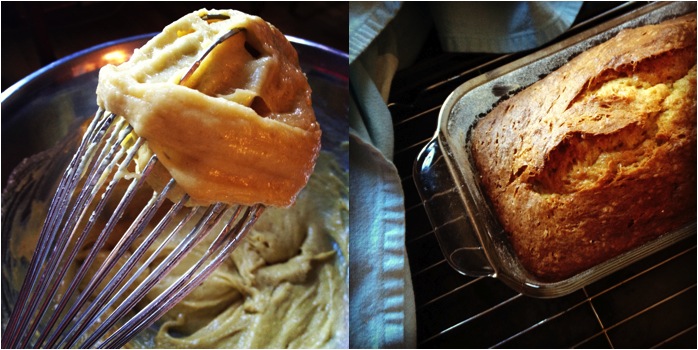
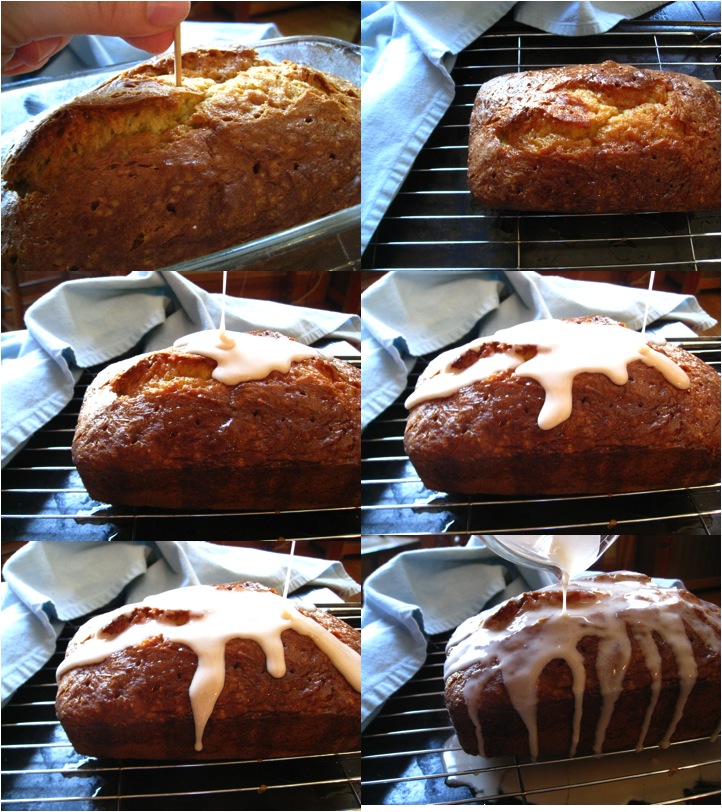
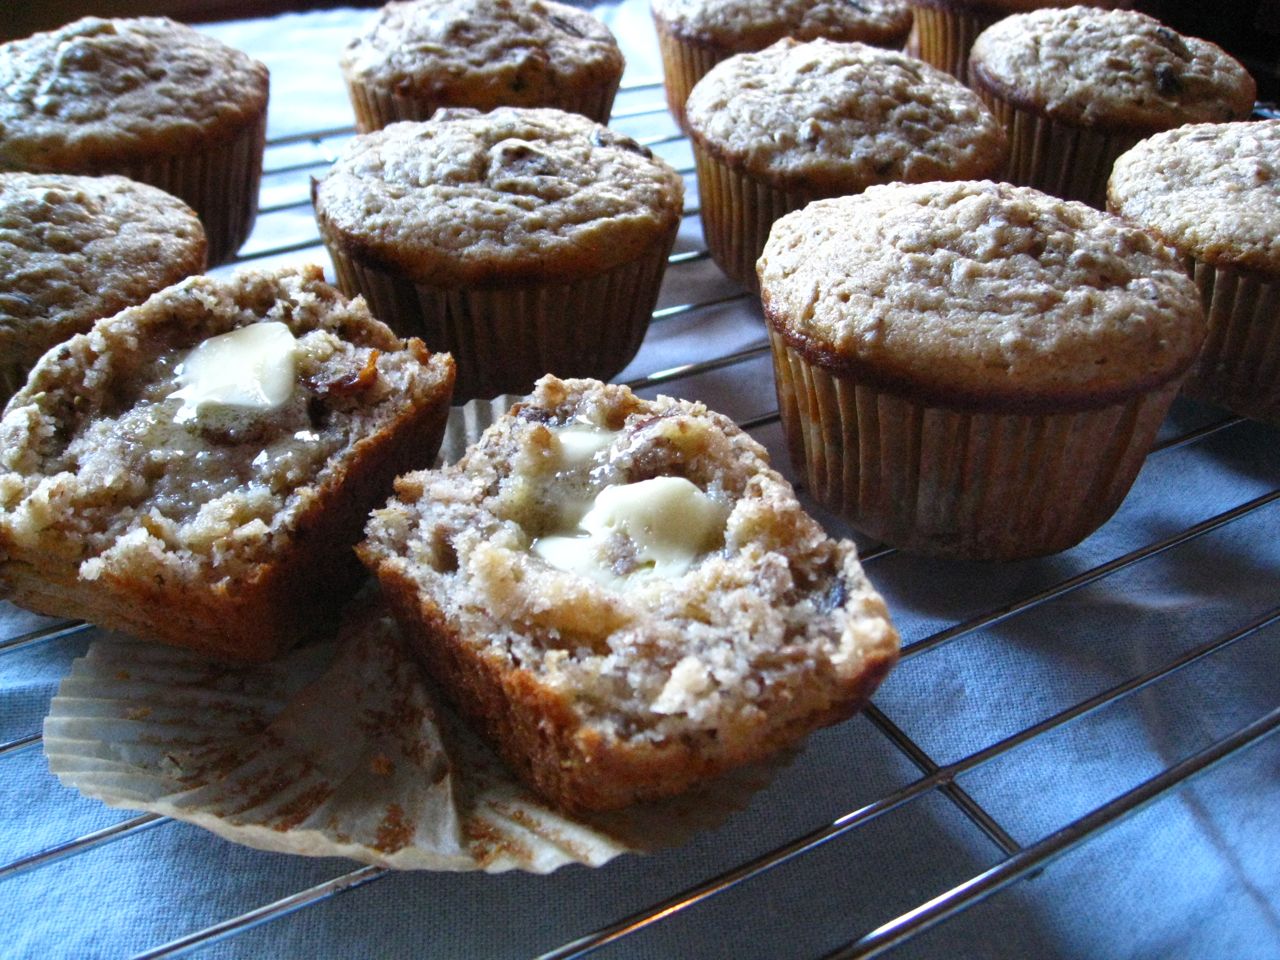
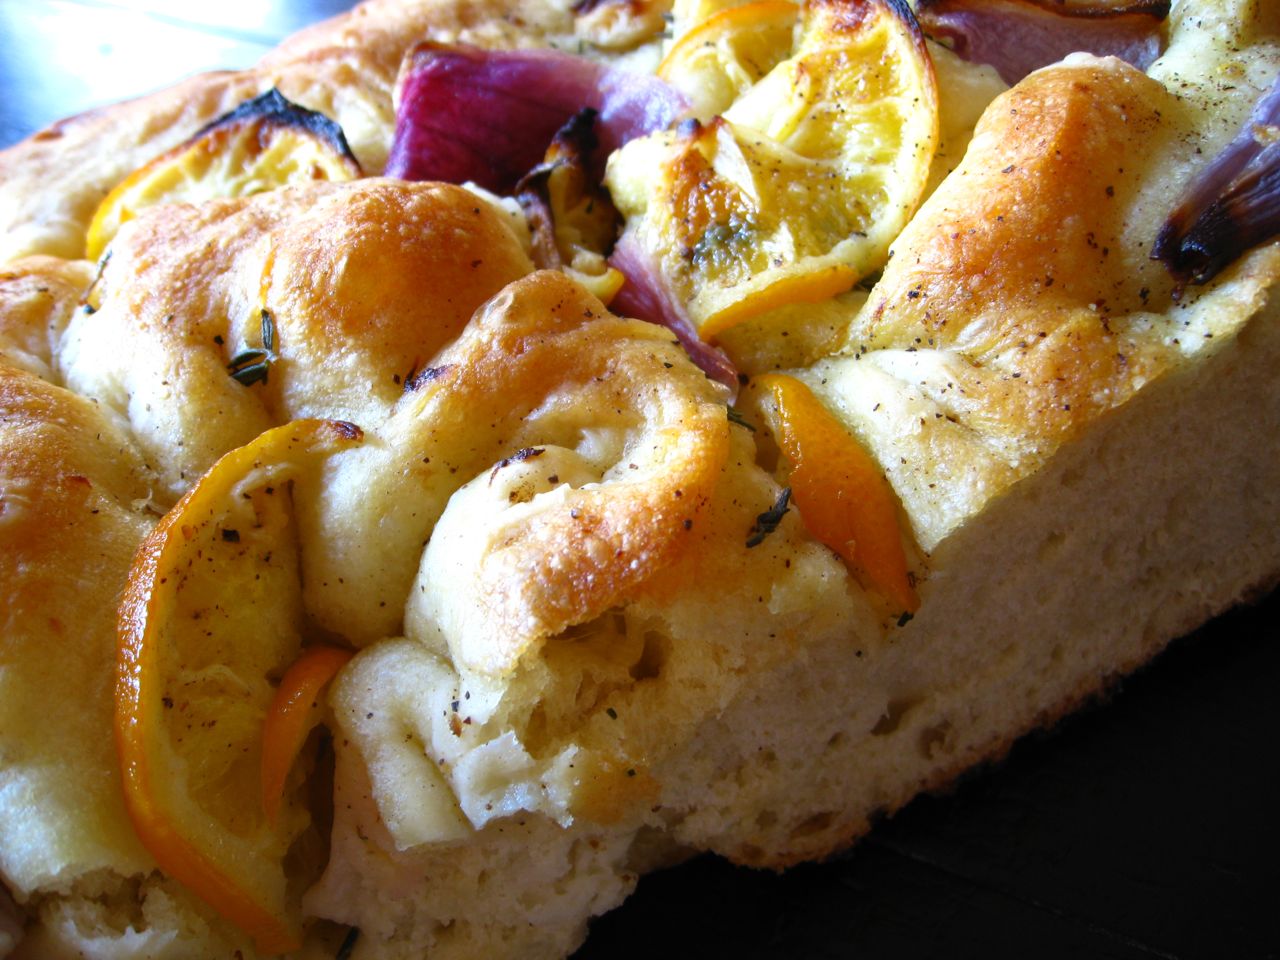
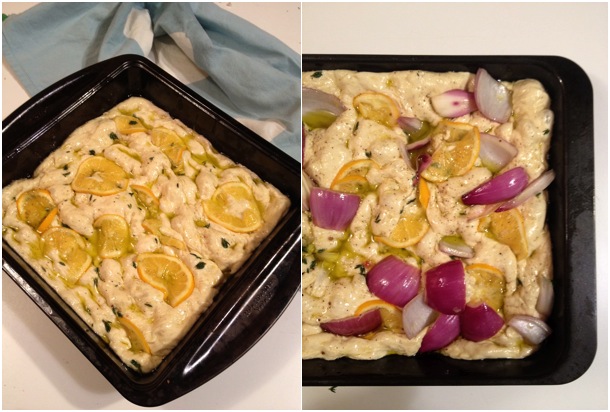
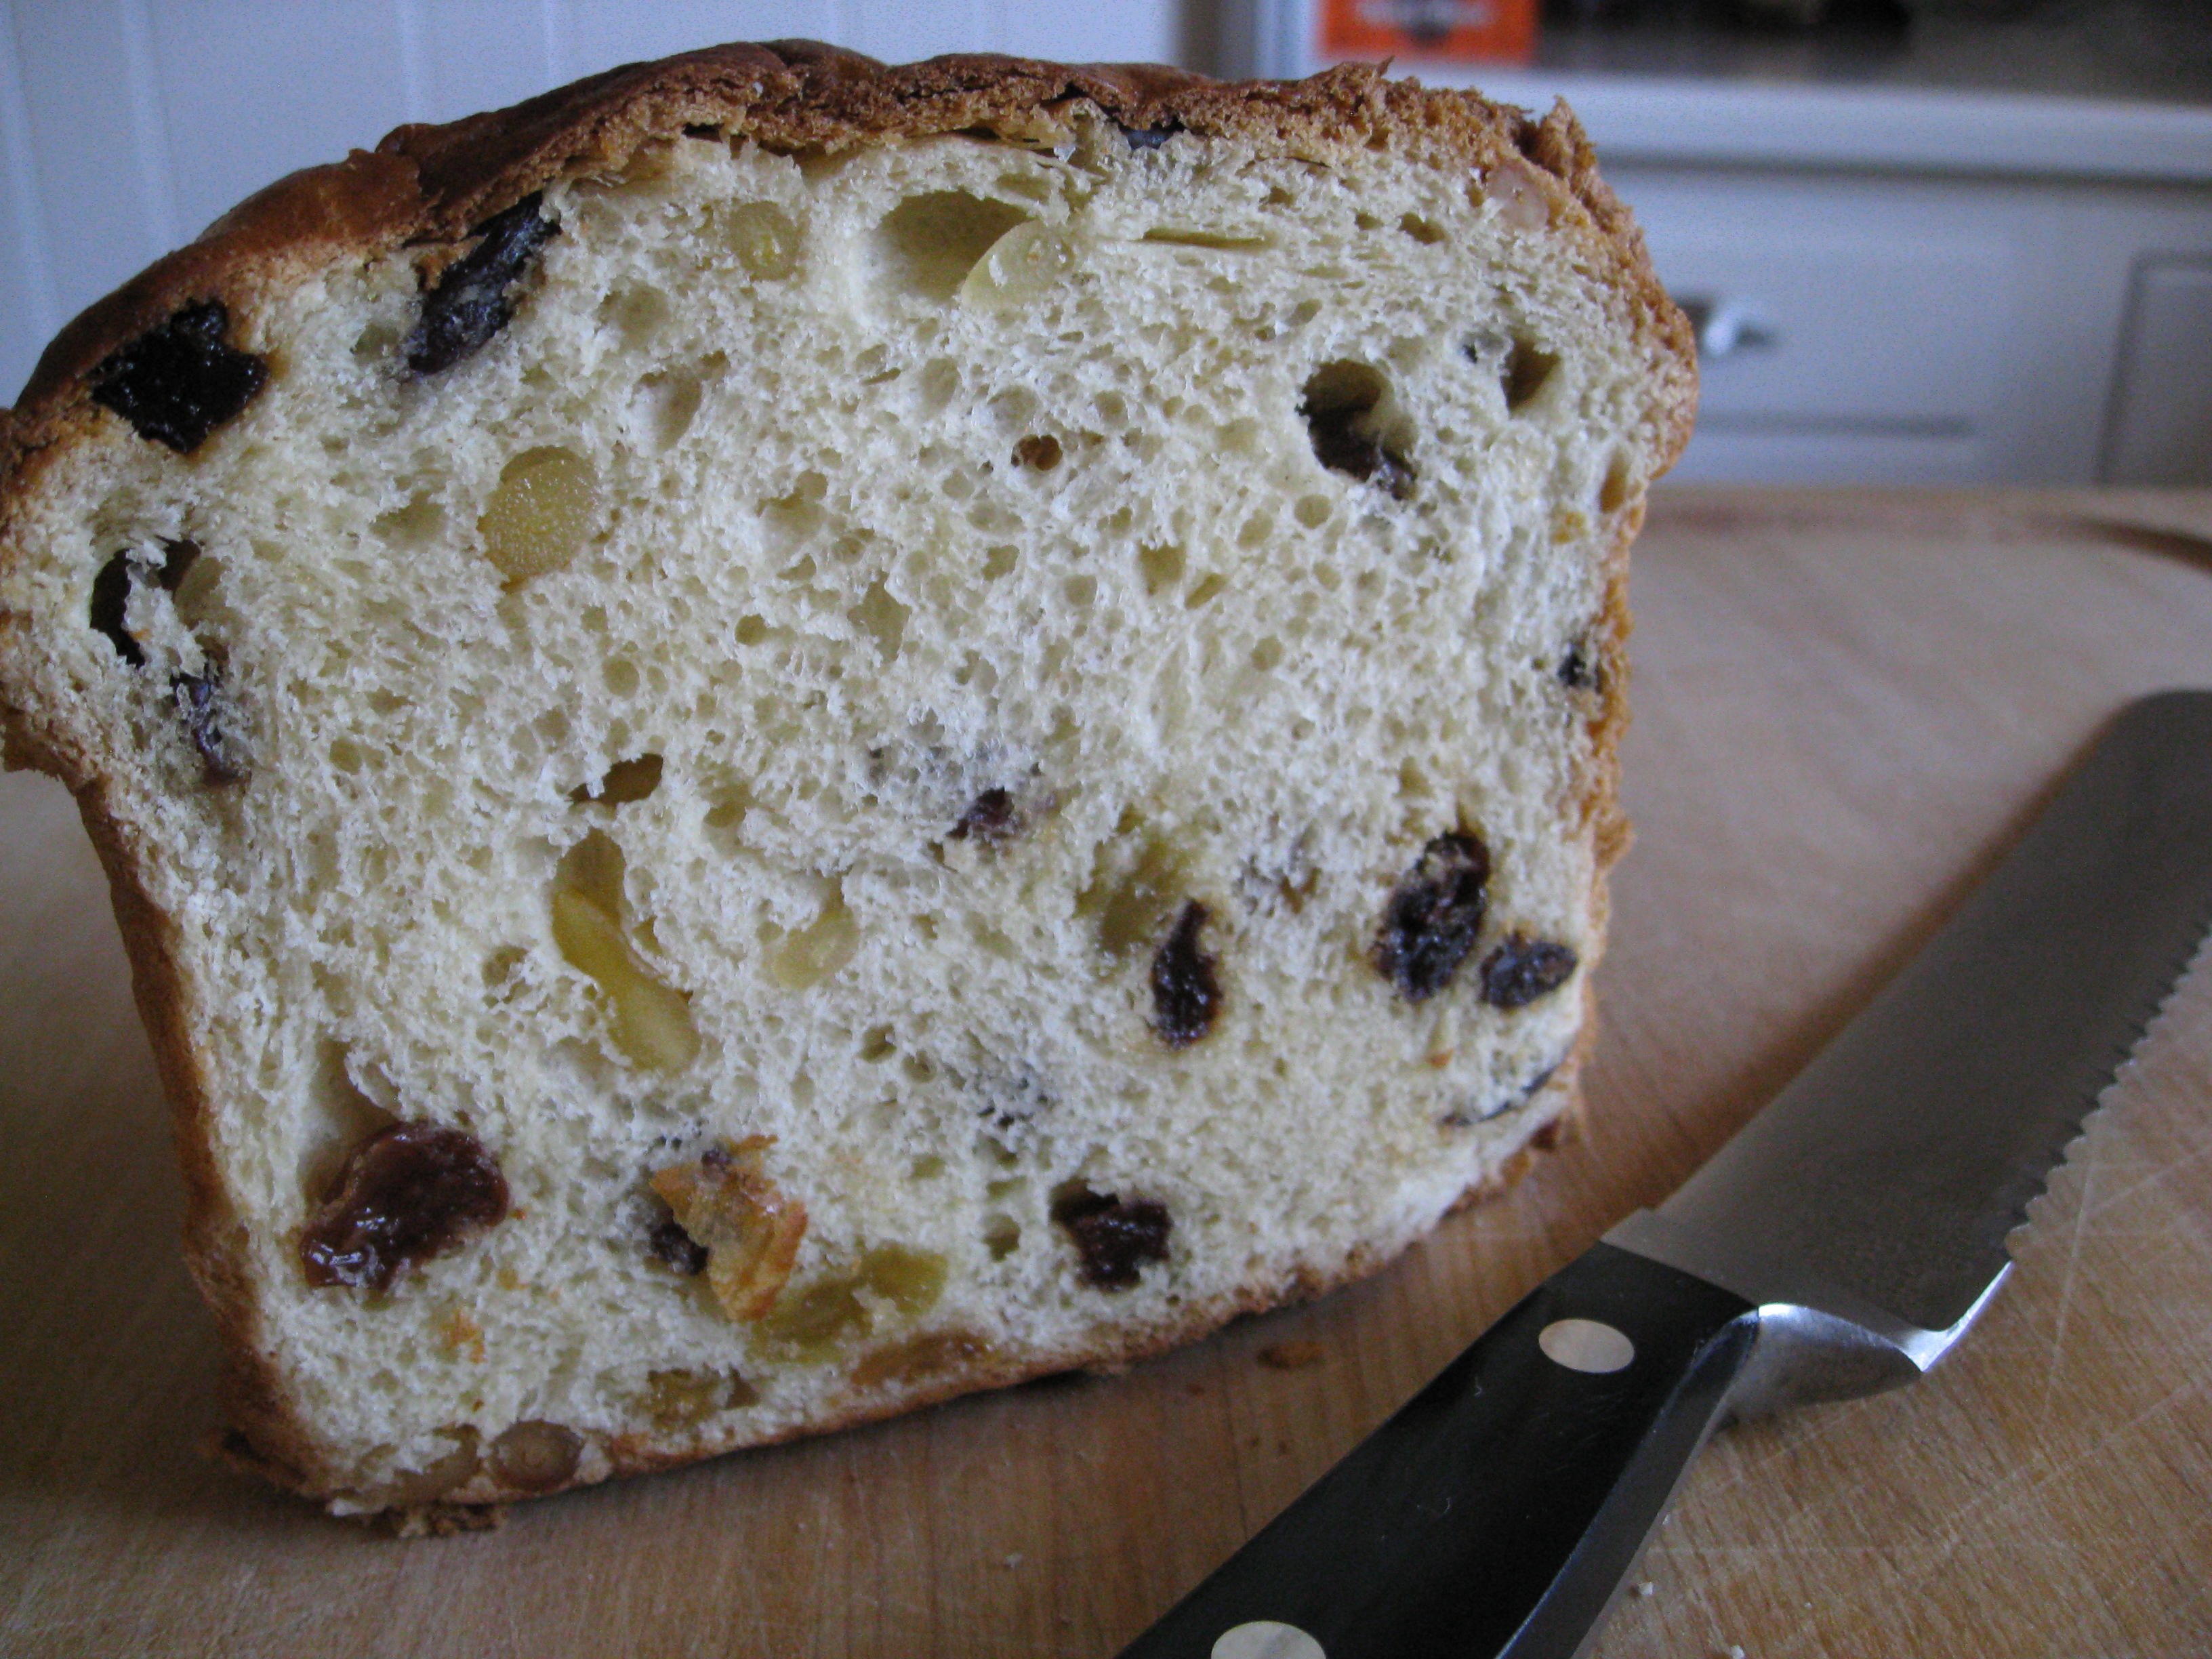
Homemade Wheat and Spent Grain Bread
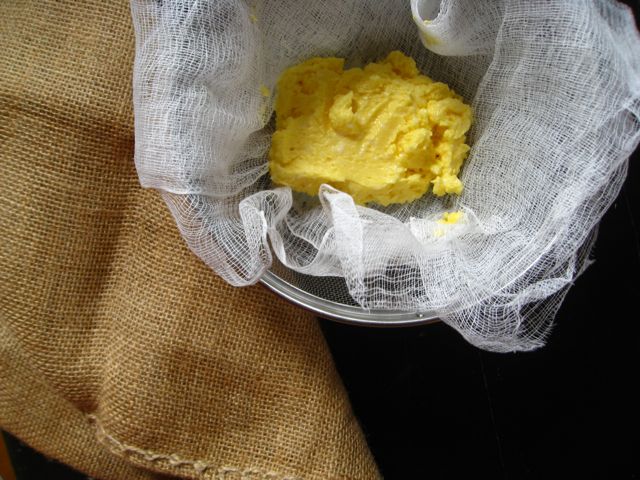
w/ Homemade Grass-Fed Milk Ricotta
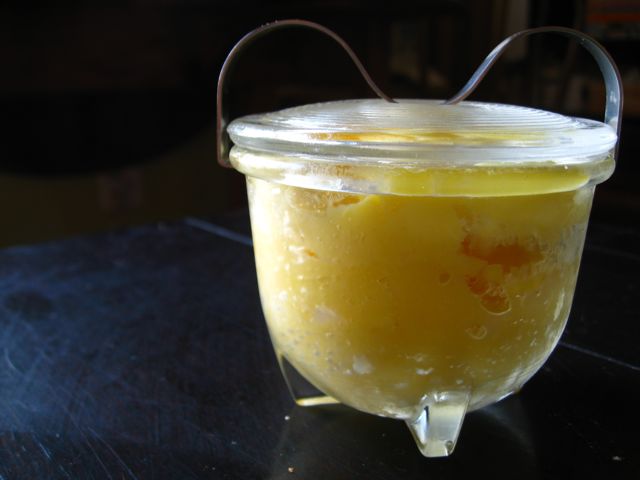
and Hand-Churned Salted Butter
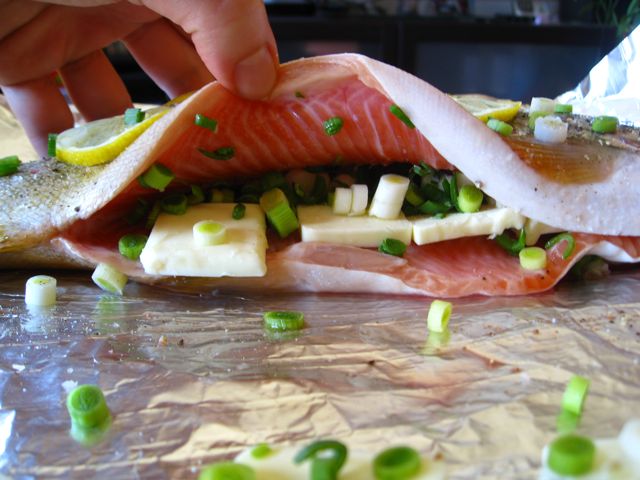
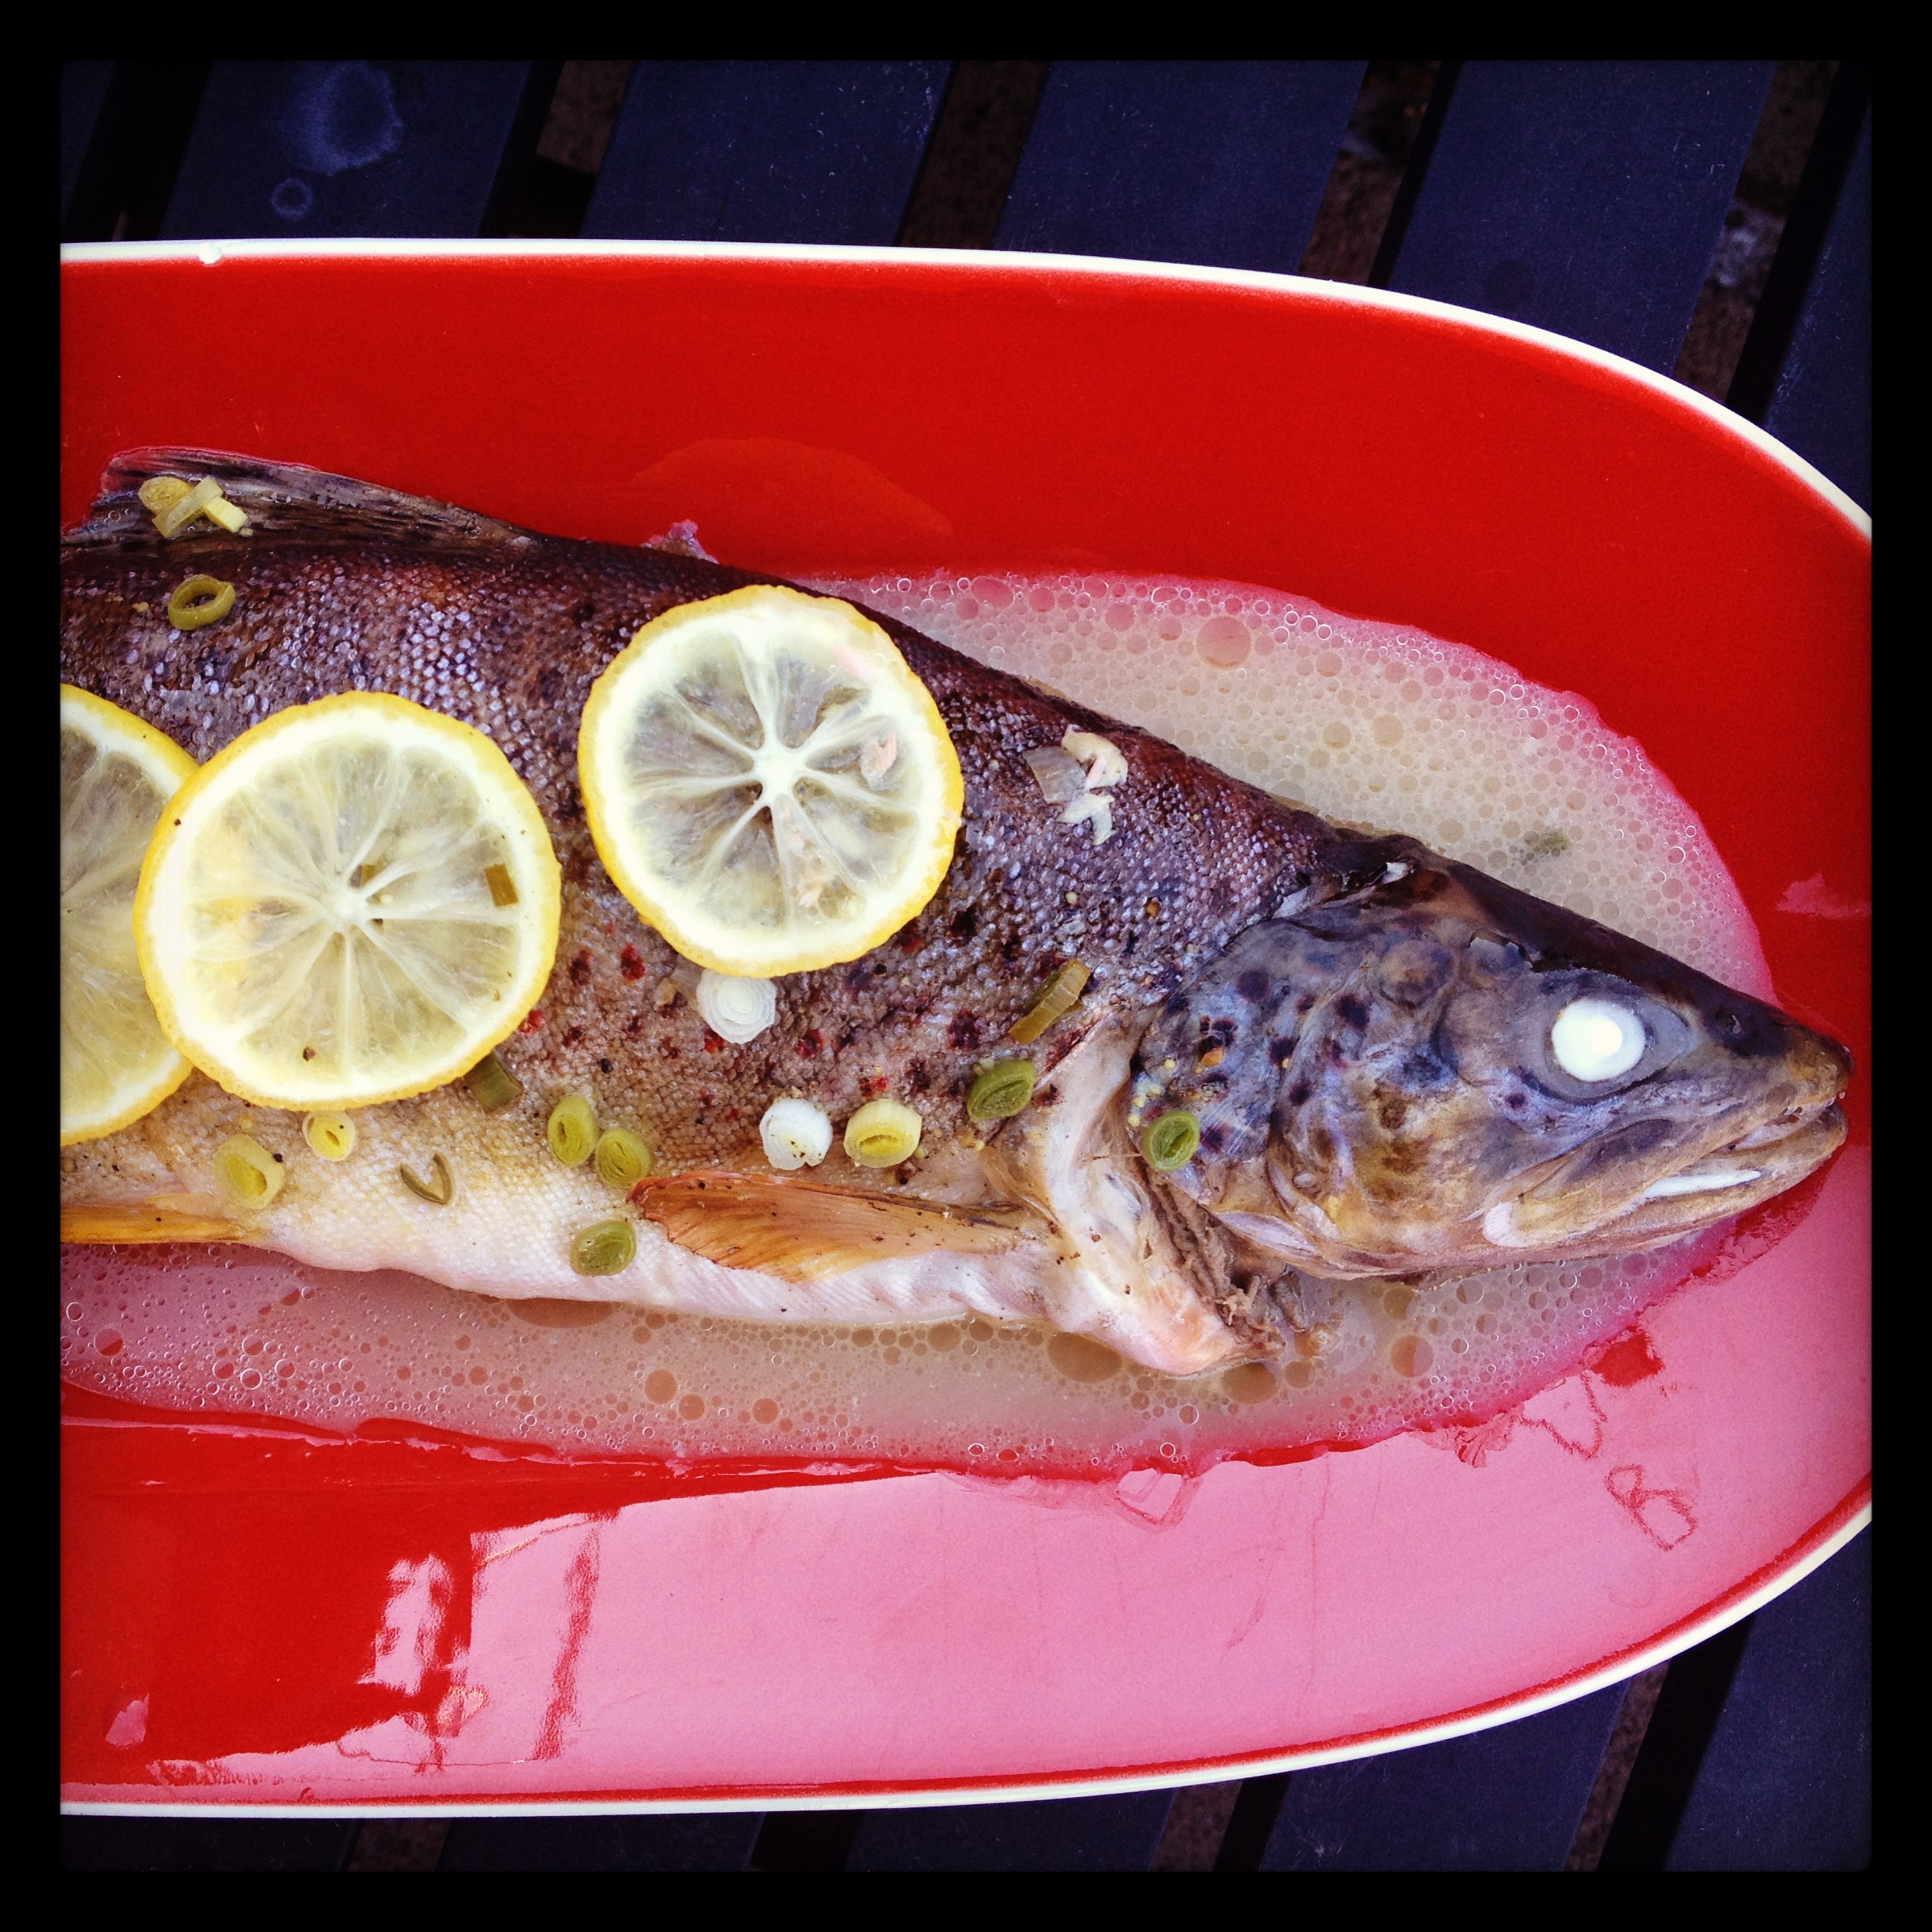
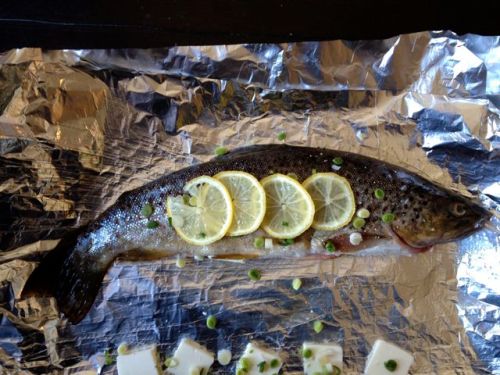
Grilled Stream-Caught Wild Trout
w/ Lemon Butter and Green Garlic
Caught by Keith Gibson, Ghent, NY
w/ 2010 Blanck Pinot Gris, Alsace
⌘
Market Blueberry-Lemon Tart
w/ Banfi Sparkling Rose Regale, Italy
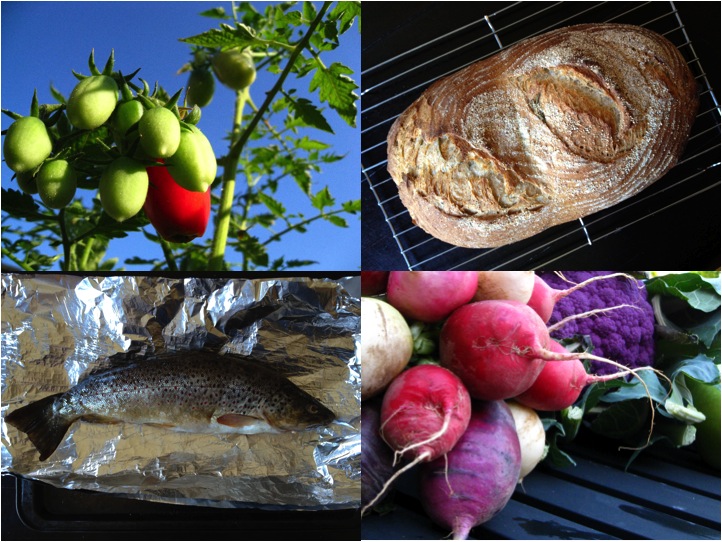
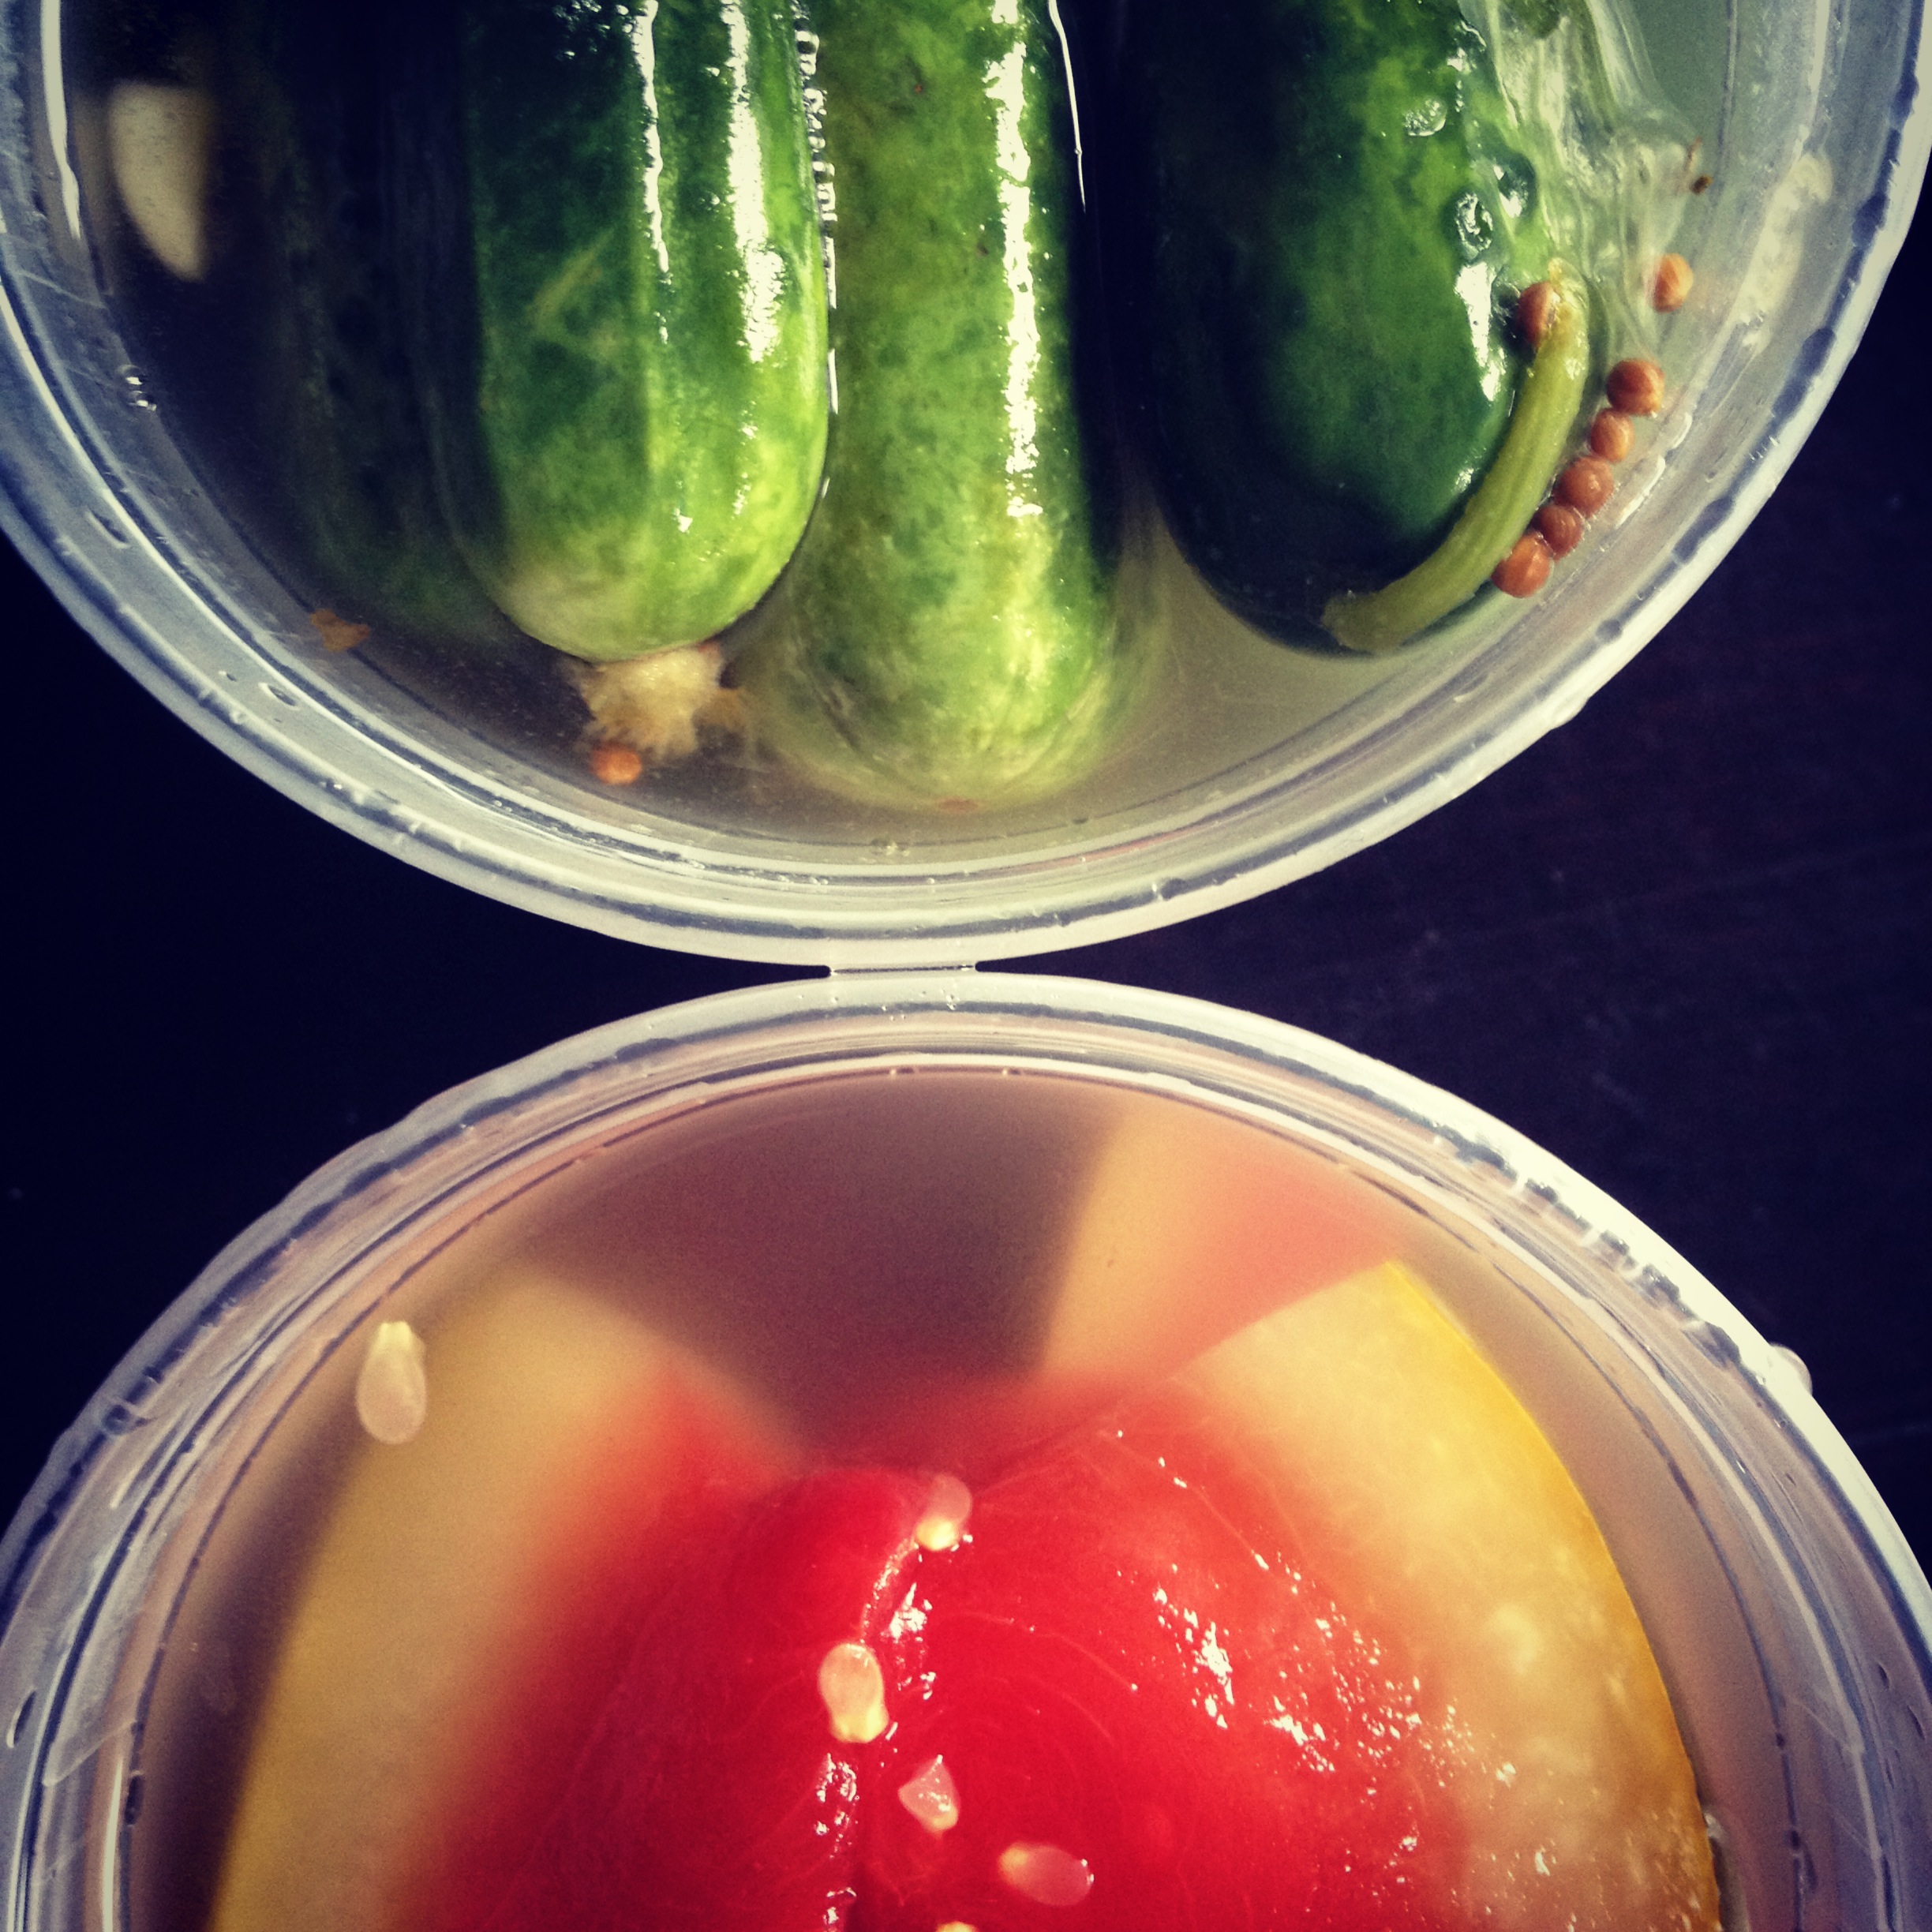
While the rain clouds loomed overhead, I poured the beer and tried to add a little brightness to the evening with an array of colorful market veggies — purple carrots and zebra heirloom tomatoes, oh my!
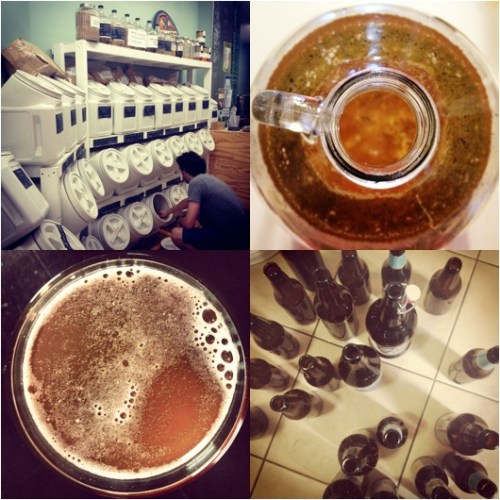
A Yerba Mate Wheat is born
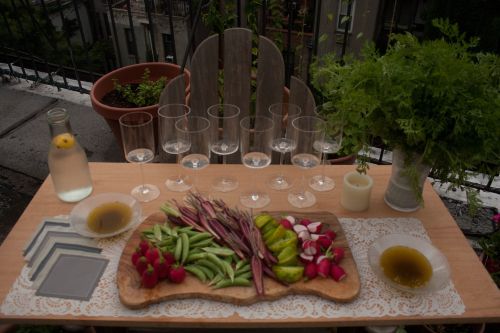
Local Market Bounty w/ Bagna Cauda
Remember that fancy side burner on the new grill? Well it got used. Keith’s prized frog legs, caught in upstate New York, did a little al fresco dance in a hot pan with a generous amount of butter and garlic scapes. The 8.ate@eight crew looked suspiciously over my shoulder as the delightful smell of brown butter wafted in their direction. All were good sports and took a tentatively tiny sampling on their plates. And then they tasted them. And quickly the platter was passed around the table for seconds leaving nothing but a pile of happily cleaned bones. It’s hard not to like something cooked in butter, but these little guys were beautifully browned and crispy on the outside and tender {dare I say like chicken} on the inside.
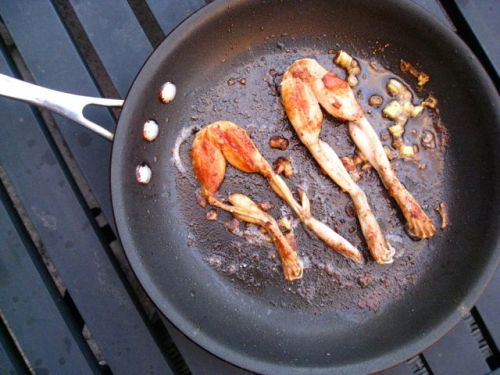
Brown Butter Pond-Caught Frog Legs
And because it was 90 and humid and we couldn’t rely solely on chilled wine to keep us from sweating, it was time for one of my absolute favorite summer salads. I discovered this genius whole preparation of a “watermelon steak” from the Umami Mart blog and then adjusted for a combination of flavors that I think were made to go together — a little salty feta to counter the sweet melon, the pistachios add a crunch to each bite that would otherwise dissolve in your mouth, a drizzle of aged balsamic for a touch of acidity and a sprinkling of fresh mint because mint and watermelon belong together.

Watermelon-Feta Steak
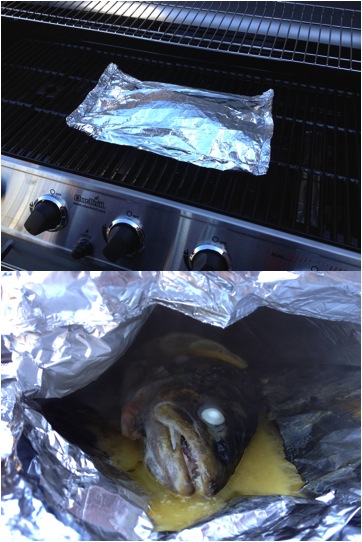
Ok and now it’s going to start to sound ridiculous. While I heated the BBQ to grill our other Keith-caught prize — the main event, the stream-caught wild trout — I brought out the homemade bread {which used spent grain from our beer and sage-rosemary-thyme from the rooftop garden}, served with homemade butter and homemade ricotta. Amazingly, it was the homemade butter that threw people for a loop — seemingly difficult to many, I had to explain it’s really just overwhipped whipped cream. The key is excellent ingredients — I used Keith’s 100% grass-fed heavy cream from his farm, Grazin’ Angus Acres {@Union Square greenmarket on Saturday, @79th st greenmarket on Sunday}, and deliciously flaky Jacobsen Sea Salt from Portland.
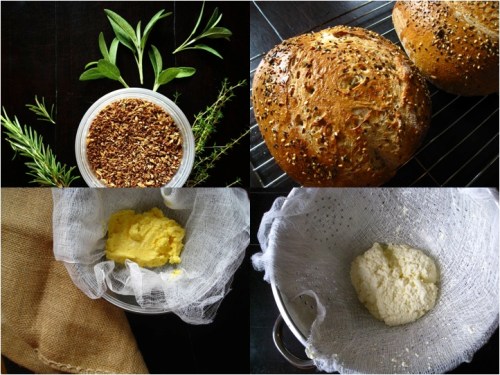
Whole Wheat & Spent Grain Bread + Two Best Friends: Butter & RIcotta
And now the drum roll…an early morning trip to the market to pick up the prized trout
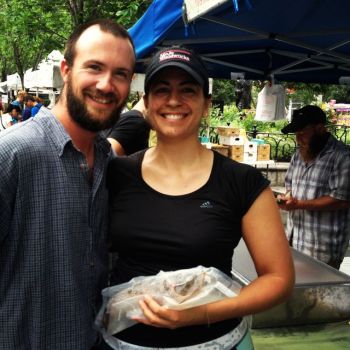
Our man Keith and one lucky fish
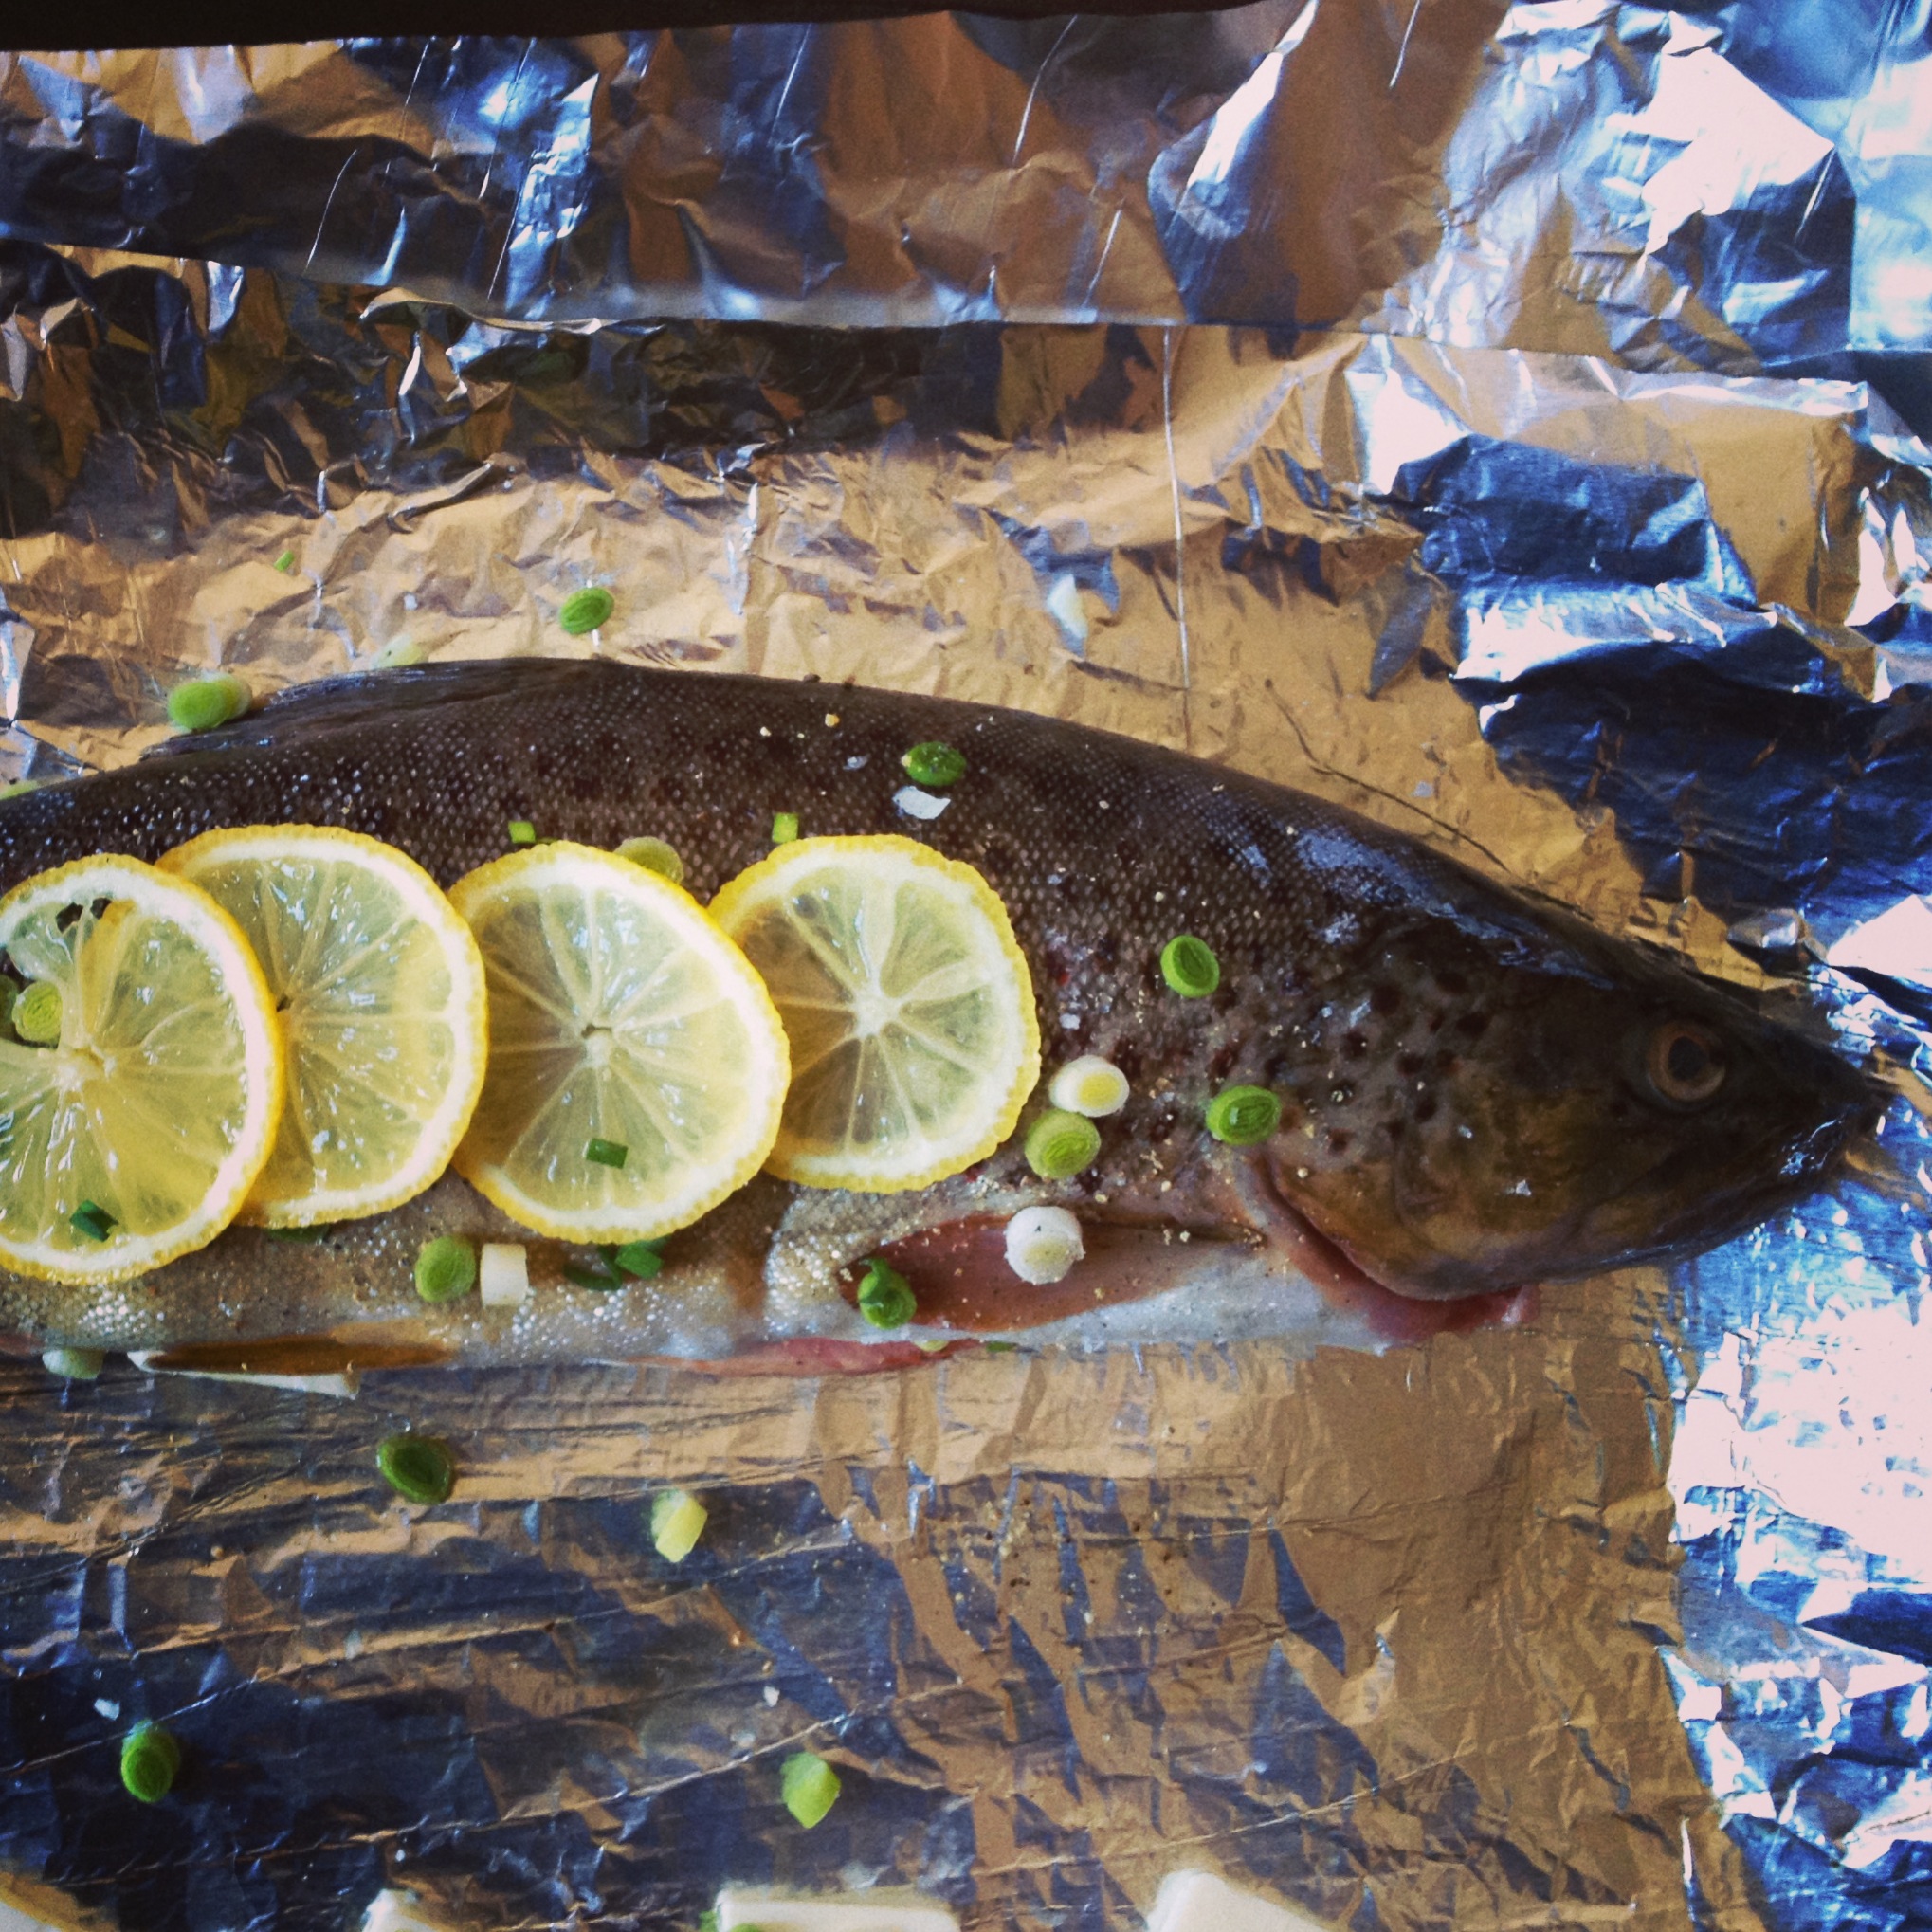
Please, please notice the amazing pink flesh shining through the beautiful skin. These fish are beauts! So happy together…

So happy together
Even happier with some fresh garlic scapes.
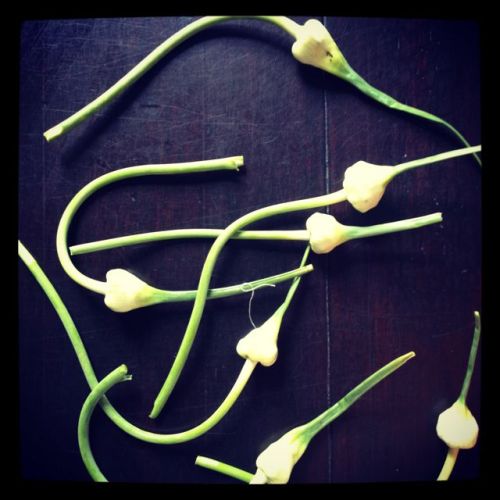
Even happier with some fresh garlic scapes
A peek inside — pretty in pink! Simple seasonings — lemon, butter, garlic scapes and scallions.

A sneak peek
Dinner is served
Nothing but the bones remained. Even a dare to eat the eyeballs was met openly and with great confidence {perhaps this had something to do with the amount of wine that had been consumed.}
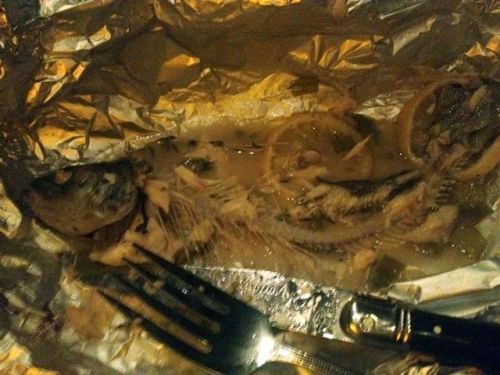
And we’re done
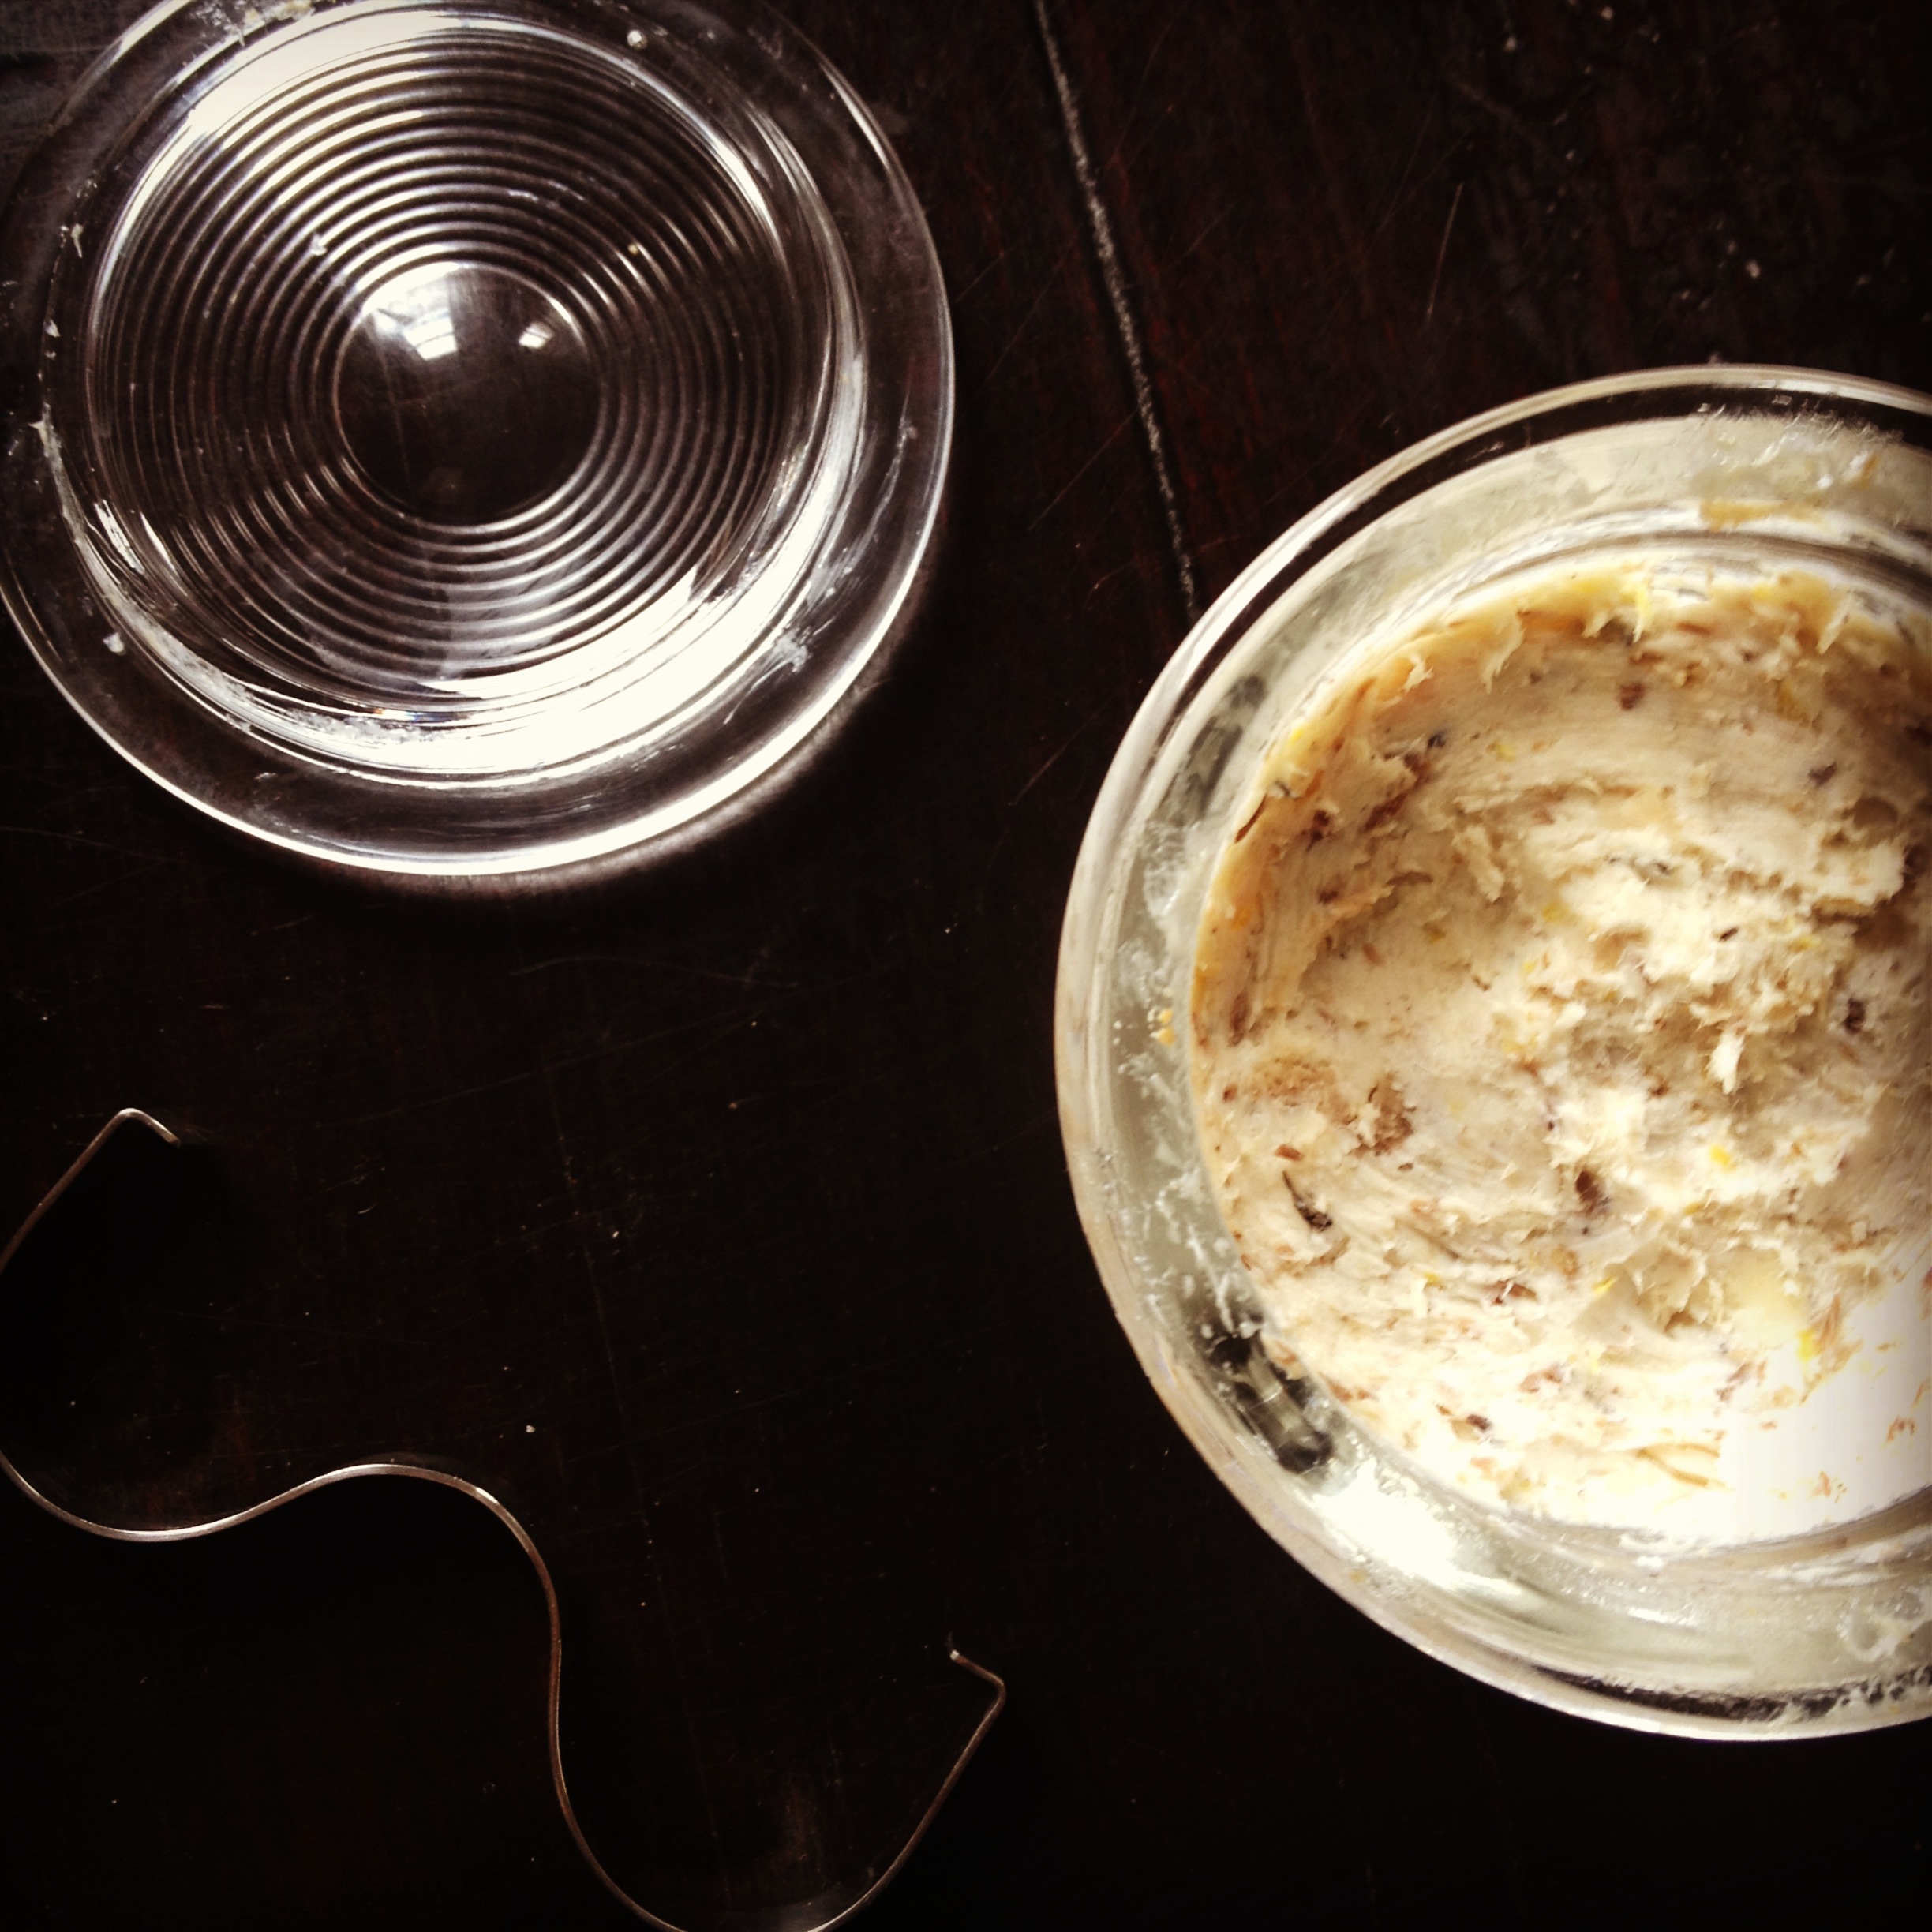
Oh, and dessert. The simplest celebration of sweet seasonal blueberries in a savory tart shell.
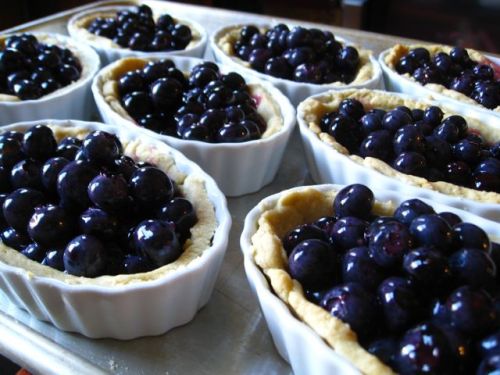
Sara Moulton’s Blueberry Lemon Tart
Thanks!
Thanks to Keith Gibson for wading through the stream and ponds to put dinner on the table. And for also raising amazing grass-fed everything that makes everything taste the way nature intended. Thanks to Ryan and Angela for helping with the brew process and storing a whole lotta beer at your apartment. Thanks to Allison and Kristin for all the help clearing our many empty dishes — and washing them {best roommates ever}! Thanks to Kristin for also snapping some pics while I was worrying about the rain. And I of course want to thank everyone who grabbed a seat at the table — it was lovely to have you all!
I’m ruminating on some future events for the fall and winter, so stay tuned. If you aren’t on the dinner distribution list, email me at 8ateateight@gmail.com to be added. See you at the table!
Read About Past 8.ate@eight Dinners:
Boozy Robert Burns Night w/ The Tippling Bros. & Highland Park Scotch
A+ 8.ate@eight Back to School Nite
8.ate@eight Went Whole Hog and Hog Wild @ the Big Southern BBQ
Who Cut the Cheese Didn’t Stink!
Silencing of the Spring Lambs was Lambtastic!
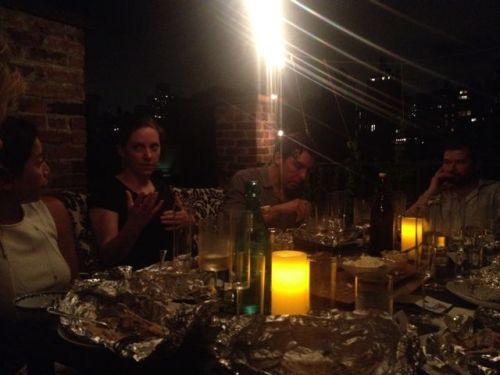
The crew


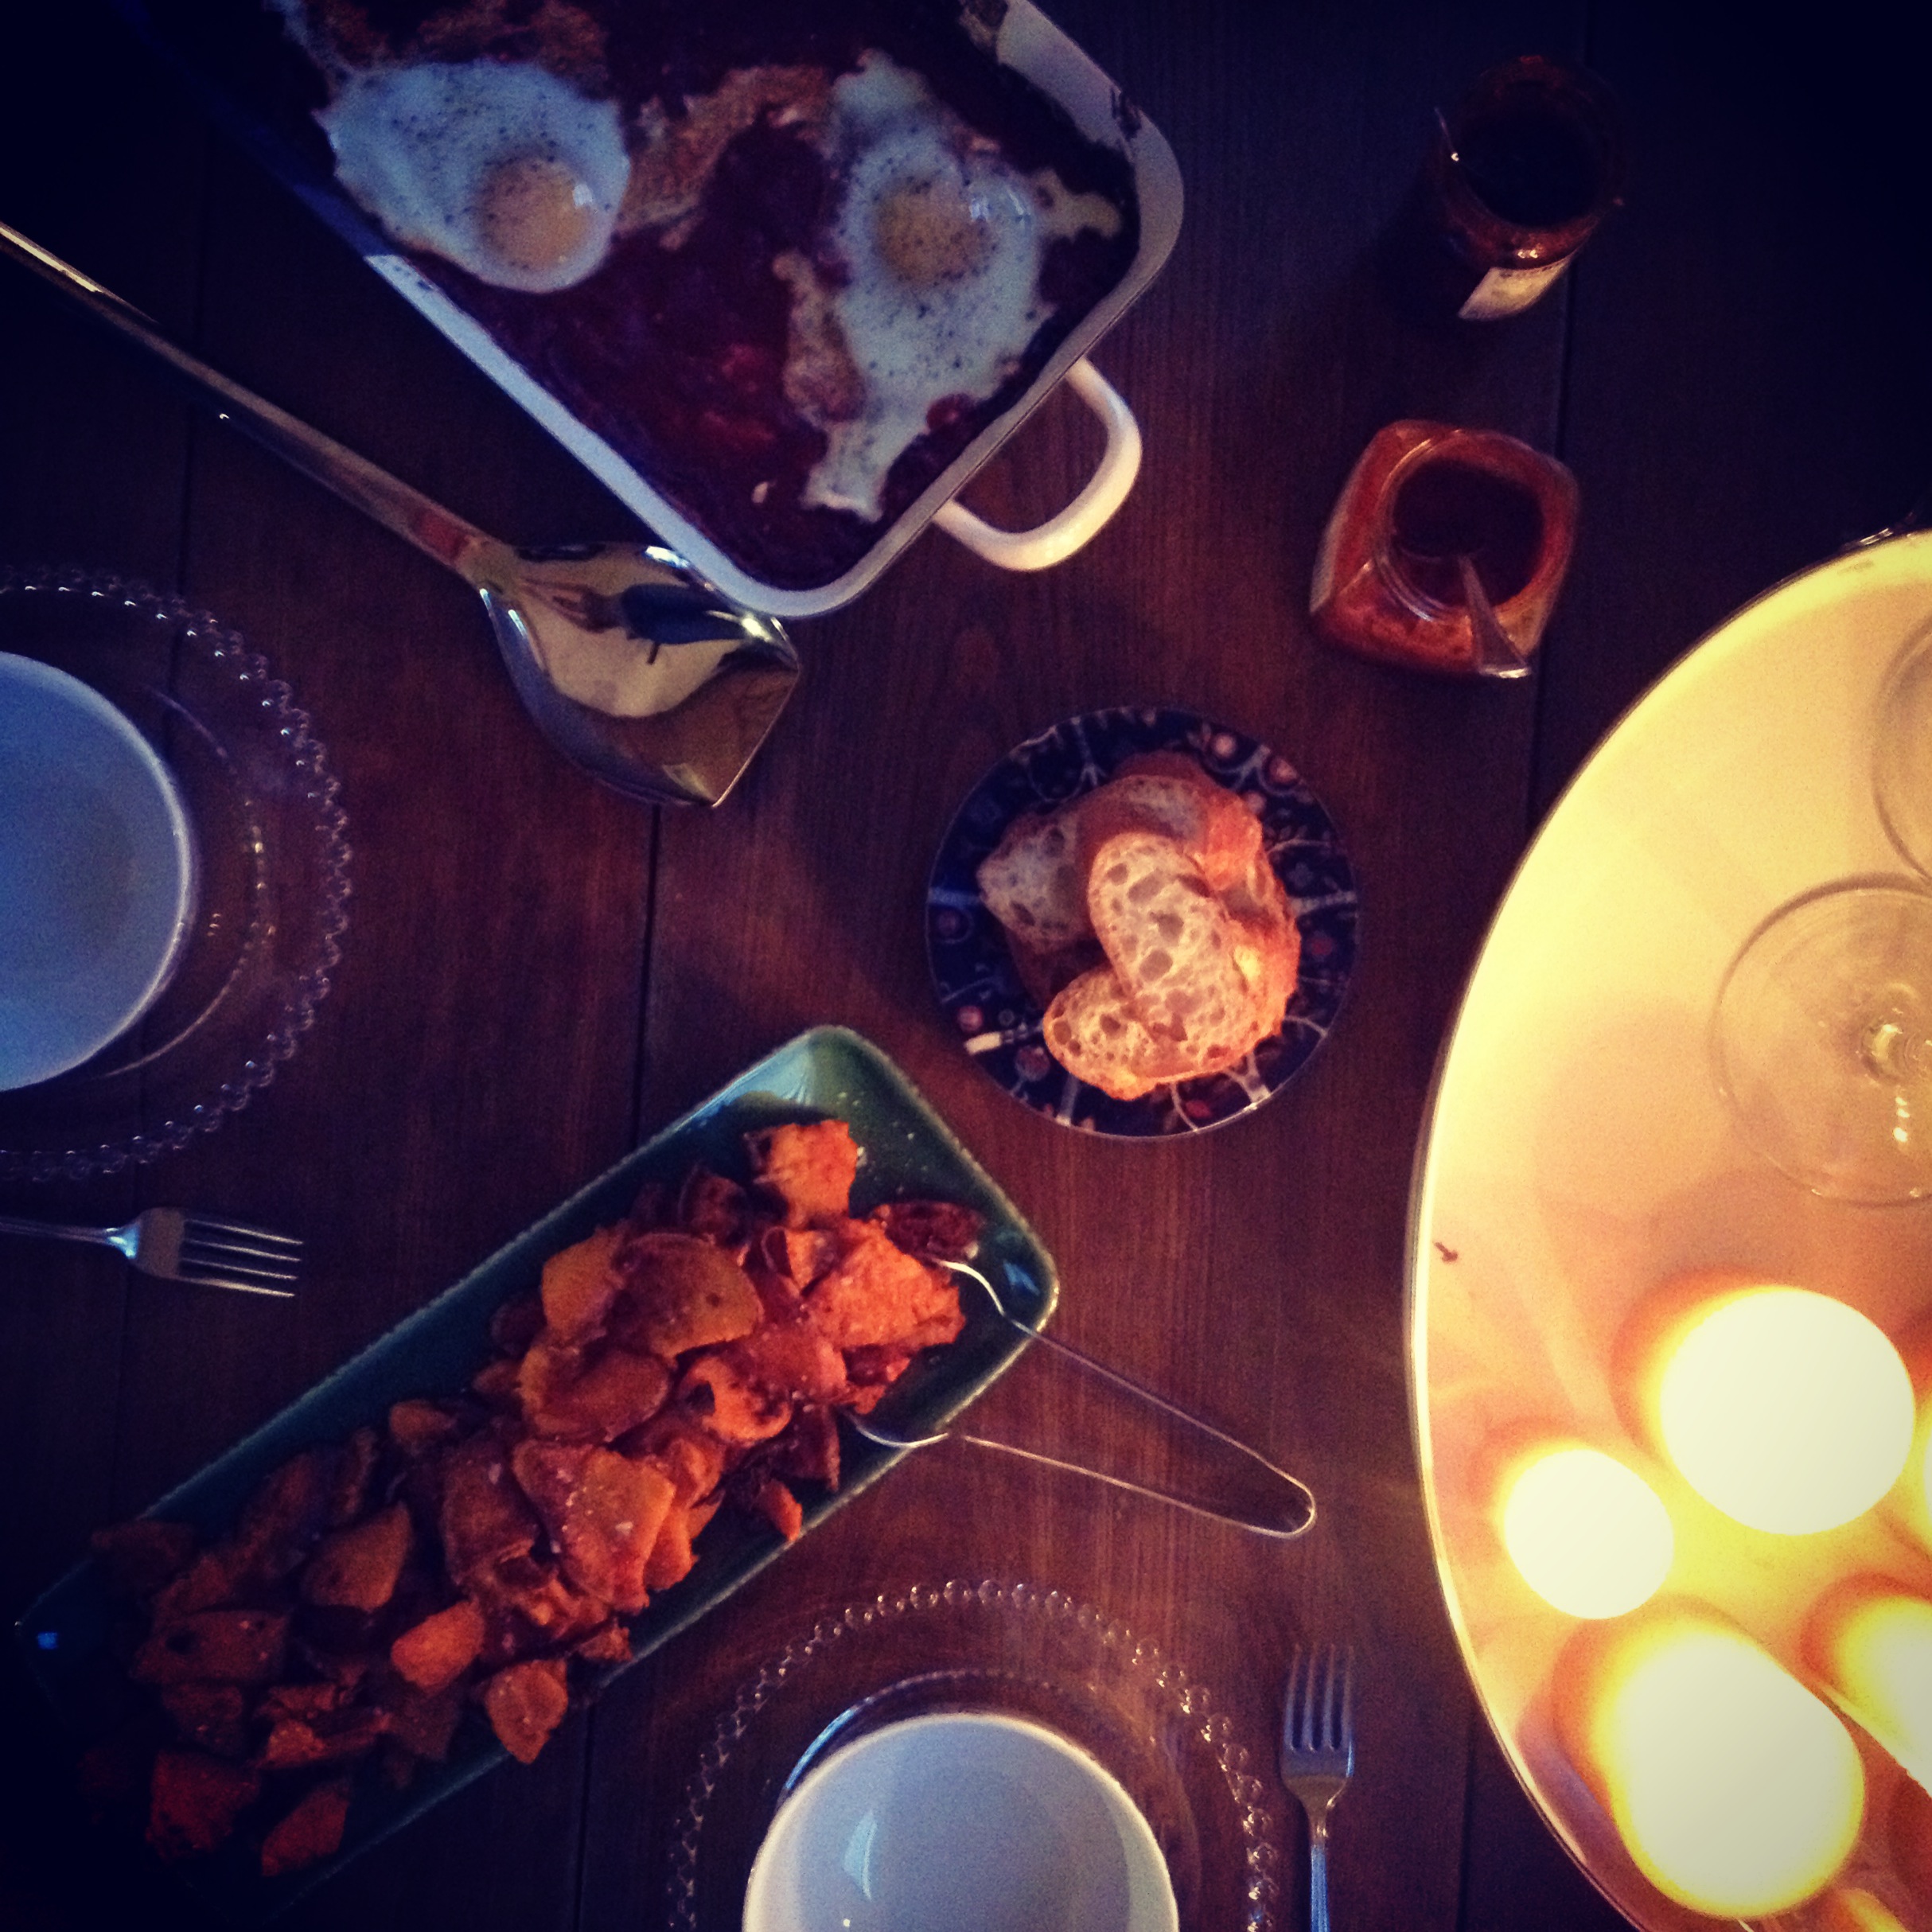
 If you know me well, you know how much I love to #putaneggonit. Pretty much any dish can be made better with a gooey yolk coating whatever was lucky enough to be blessed with it. So with a container of grandma’s leftover sauce in the freezer and a new carton of eggs in the fridge, I added one additional ingredient to make this one-pan dinner a keeper: spice. You could call this your lazy evening meal, but I bet it would impress any dinner guest too.