Home brew
I’m a girl who likes projects. But even the idea of brewing my own beer intimidated me. Until I became the proud owner of a Brooklyn Brew Shop beer kit after an auction to raise money for Hurricane Sandy relief. With a Saturday to kill and my cousin Angela and her fiance Ryan here to provide moral support {and expert home-brewer guidance} we got to work.
The tools
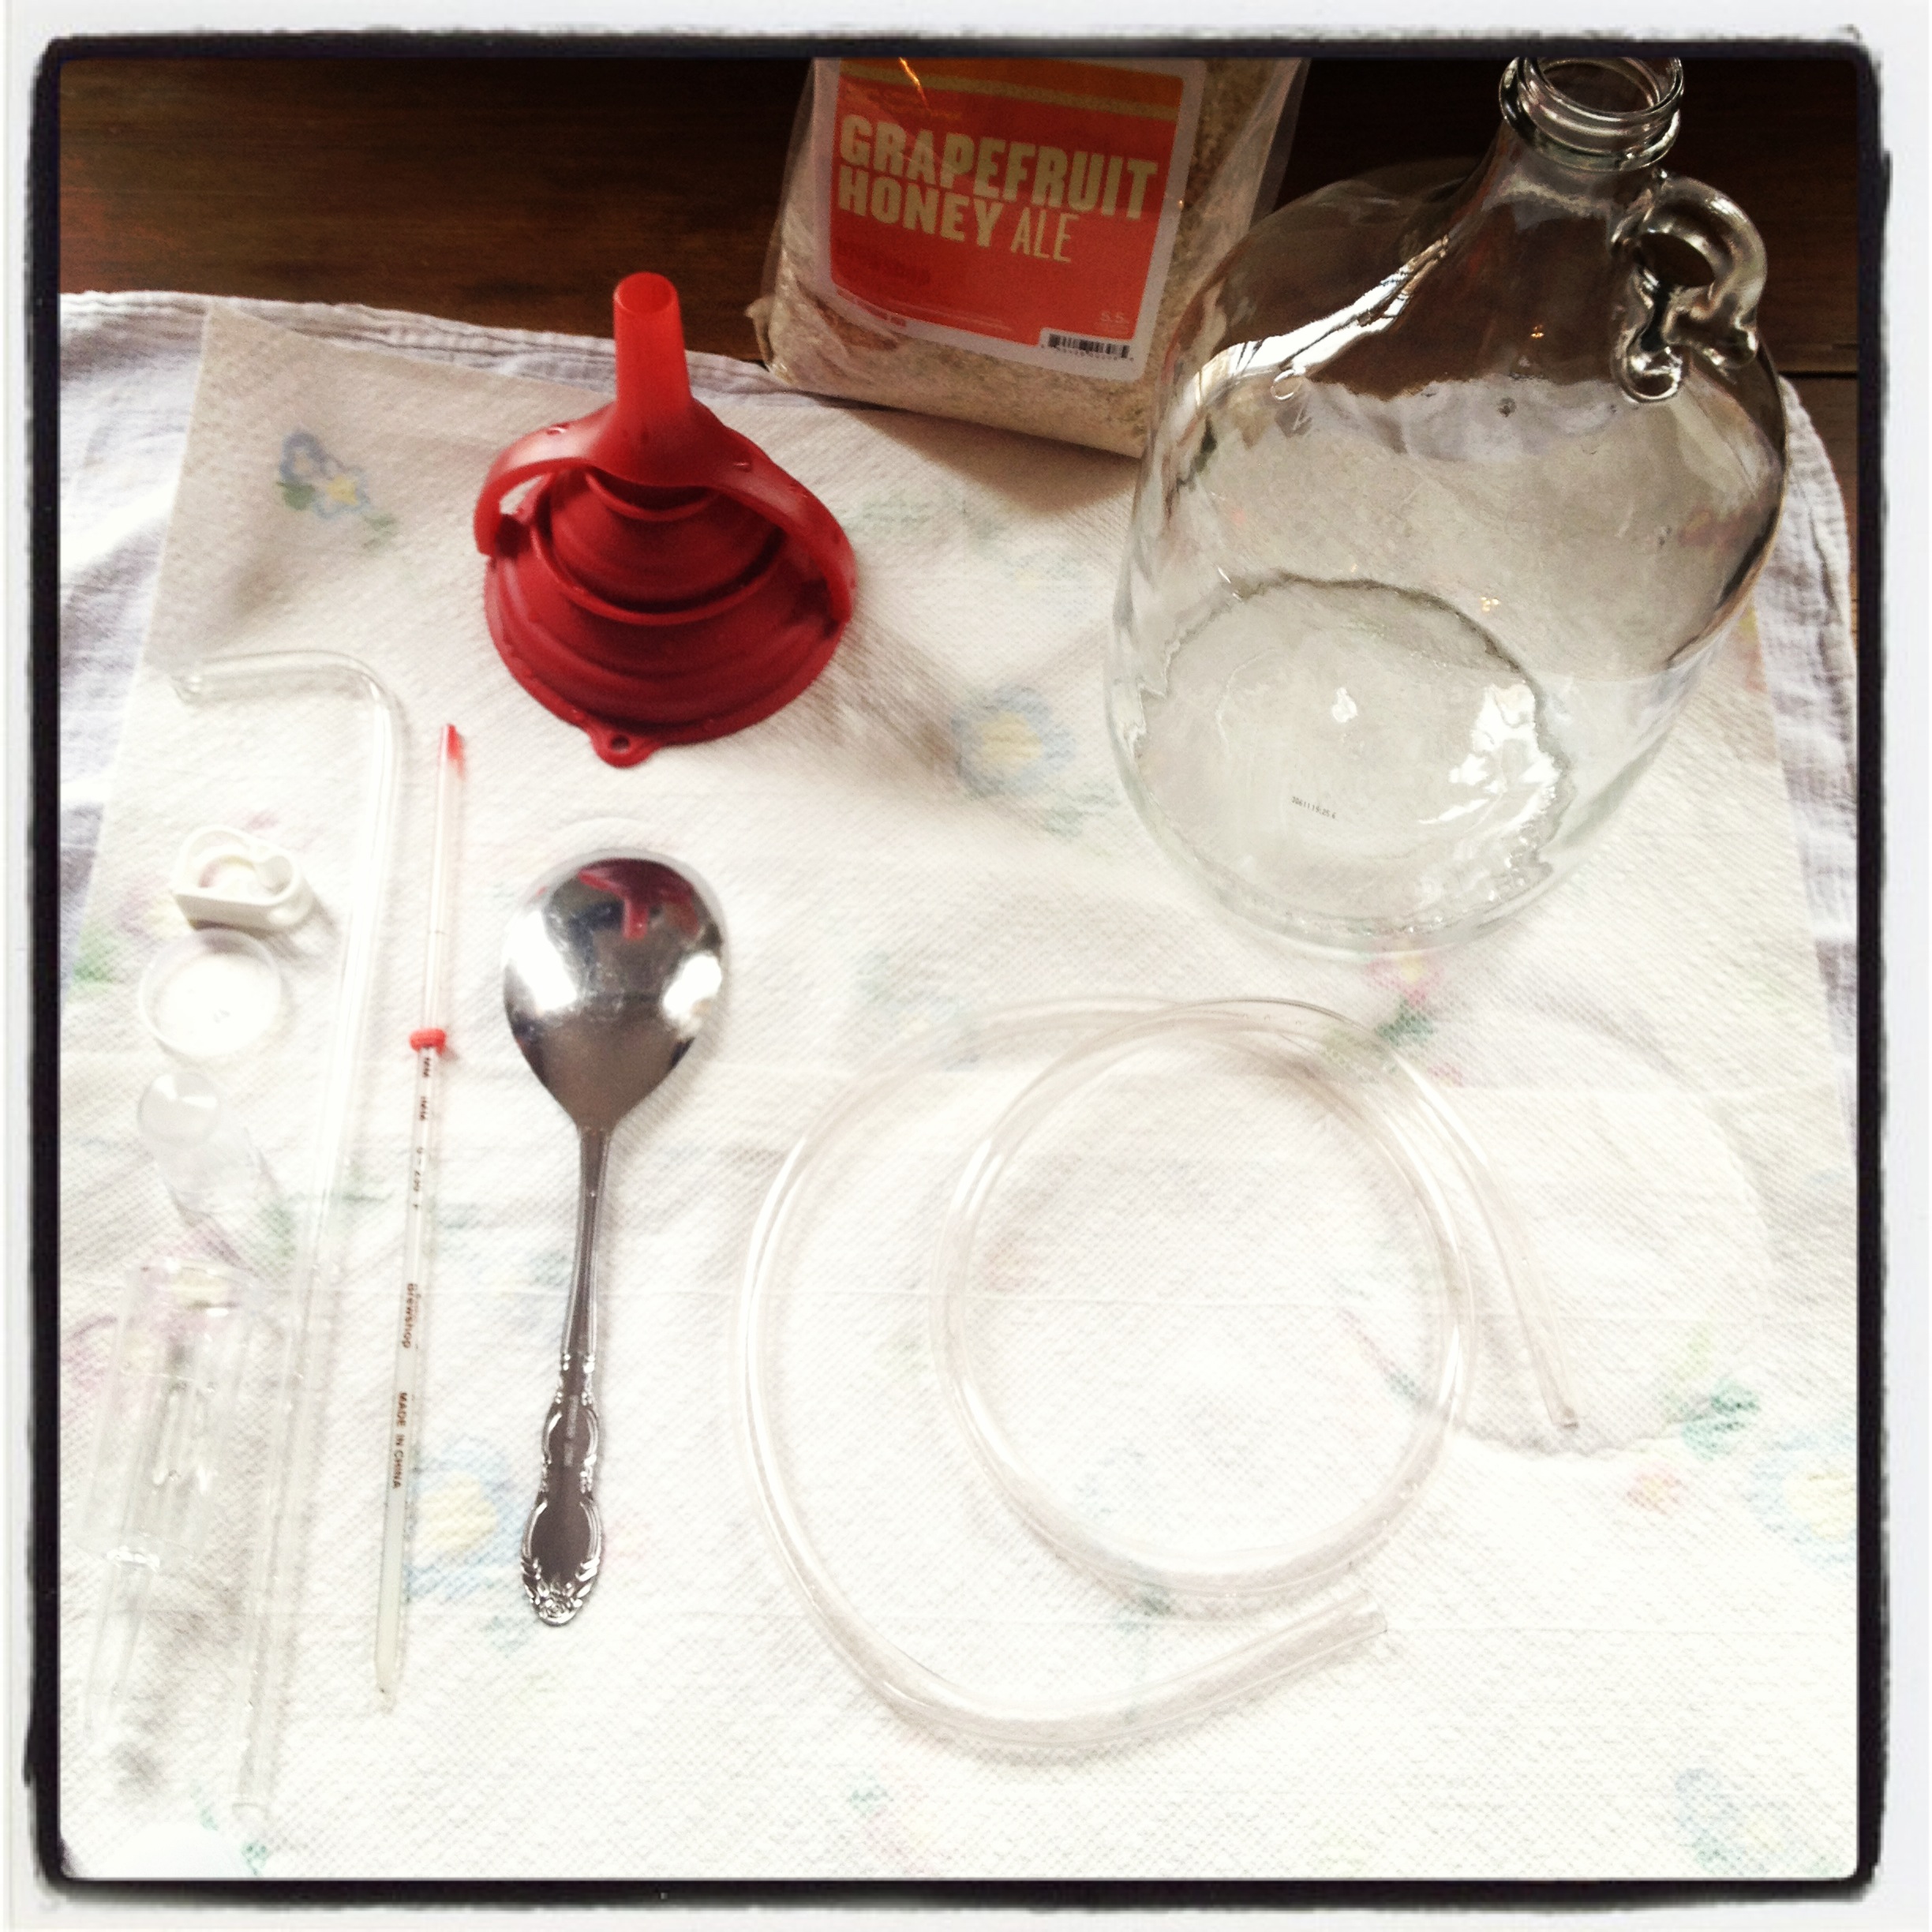
The kit comes with almost everything you need to get started, but I did have to have my own funnel and large fine-mesh strainer on hand. Oh, and the grapefruit peel and honey for the grapefruit honey ale. I was a little perplexed that these two key ingredients where not provided in some dried or packaged form, but since I was still in my citruspalooza mode, I happened to have grapefruit on hand so got over the disappointment quickly. Step 1: sanitize all the equipment with the sanitizer provided in the kit and then get work.
The Mash
The Mash
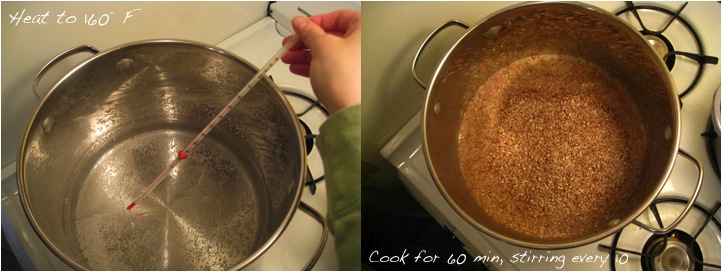
- Heat 2 quarts (1.9 liters) of water to 160°F.
- Add grain (This is called “mashing in.” Take note of jargon. Or don’t).
- Mix gently with spoon or spatula until mash has consistency of oatmeal. Add water if too dry or hot. Temperature will drop to ~150°F (66°C).
- Cook for 60 minutes at 144-152°F (63-68°C). Stir every 10 minutes, and use your thermometer to take temperature readings from multiple locations.
- You likely don’t need to apply heat constantly. Get it up to temperature, then turn the heat off. Monitor, stir, and adjust accordingly to keep in range.
- After 60 minutes, heat to 170°F (77°C) while stirring constantly (“Mashing Out”).
The Sparge
The Sparge
- Heat additional 4 quarts (3.8 liters) of water to 170°F (77°C).
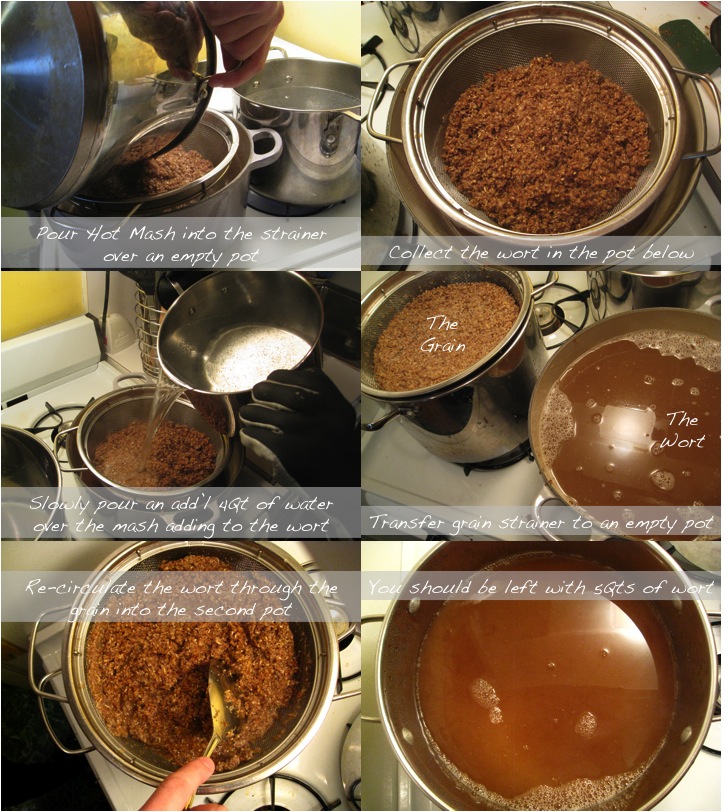
- Set up your “lauter tun” (a strainer over a pot).
- Carefully add the hot grain mash to the strainer, collecting the liquid that passes through.
- This liquid is called “wort” (pronounced “wert”). It will be your beer.
- Slowly and evenly pour 170°F (77°C) water over the mash to extract the grain’s sugars.
- You want to collect 5 quarts (4.75 liters) of wort. You will lose about 20% to evaporation later on, so you want to start with a bit more than you’ll end with.
- Re-circulate wort through grain once.

The Boil
The Boil
- In a pot, heat wort until it boils.
- Keep boiling until you’ve hit the “hot break” (Wort will foam – you may need to reduce heat slightly so it doesn’t boil over.)
- Stir occasionally. All you want is a light boil – too hot and you lose fermentable sugars and volume.
- The boil will last 60 minutes. Start your timer and add in the rest of the ingredients at these times: Add Columbus Hops at start of boil.
- Add 1/2 Cascade Hops 30 minutes into boil.
- Add remaining Cascade Hops and Grapefruit Peels 55 minutes into boil.
- At 60 minutes turn off heat. Dissolve 1/4 cup Honey and Candi Sugar.
- Twenty percent of the wort will have evaporated in this step leaving you with 1 gallon (3.8 liters) of wort. If your boil was a bit high, the surface area of your pot extra large, or you brewed on a really hot day, you may have less than the full amount. Don’t worry – you just reduced your beer a bit too much, but you can add more water in the next step.

The Fermentation
Fermentation
- Place brew pot in an ice bath until it cools to 70°F (21°C).
- Once cooled, place strainer over funnel and pour your beer into the glass fermenter. Yeast needs oxygen. The strainer helps aerate your wort and clarify your beer (as well as catch any sediment from going into the fermenter). Add tap water to bring wort up to 1 Gallon mark if level is low.
- “Pitch” yeast. (Toss the whole packet in.)
- Shake aggressively. You’re basically waking up the yeast and getting more air into the wort.
- Attach sanitized screw-top stopper to bottle. Slide rubber tubing no more than 1” (2.5 cm) into the stopper and place the other end in small bowl of sanitizer. You’ve just made a “blow-off tube”. It allows CO2 to escape.
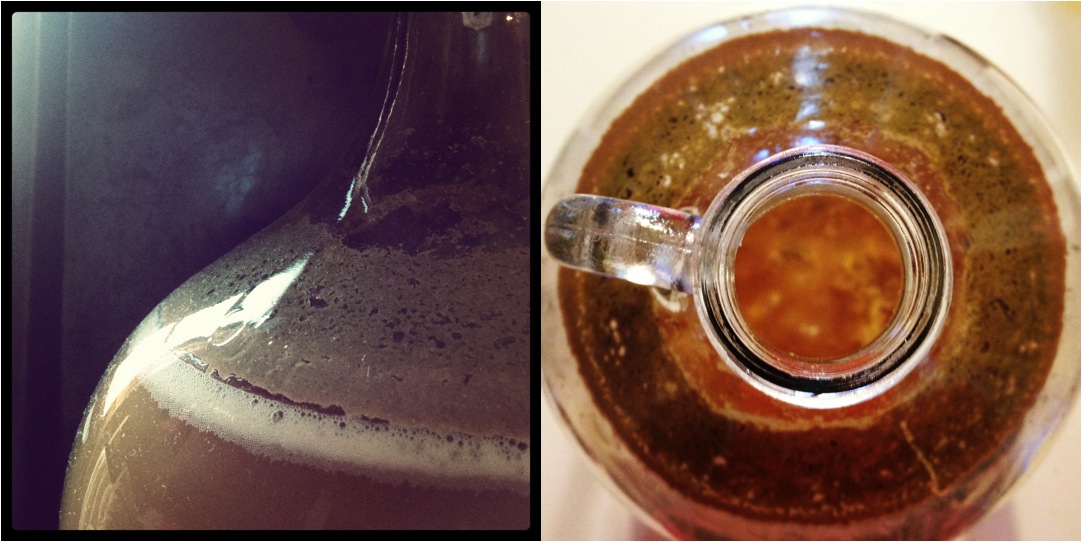
- Let sit for two or three days or until vigorous bubbling subsides. This is when fermentation is highest. You may notice bubbles and foam at the top of the beer. After bubbling calms down, clean tubing and ready your airlock.
- Sanitize, then re-assemble airlock, filling up to line with sanitizer.
- Insert airlock into hole in stopper.
- Keep in a dark place for two weeks without disturbing other than to show off to friends. (If beer is still bubbling, leave sitting until it stops.)
- In the meantime, drink beer with self-closing swing tops, or ask for empties at a bar that has some. If you have a bottle capper and caps, you can save two six packs of non-twistoff beers instead.
Bottling
Two Weeks Later: Bottling
- Thoroughly rinse bottles with water, removing any sediment.
- Mix remaining sanitizer with water.
- Fill each bottle with a little sanitizer and shake. Empty after two minutes, rinse with cold water and dry upside down.
- Dissolve 3 tablespoons honey with 1/2 cup water. Pour into a sanitized pot. You will be siphoning your beer into the same pot in the next steps. Carbonation comes from adding sugar when bottling, so if you filled your jug with less than the full gallon in the last step, use less honey when bottling. Using the full amount can result in your beer being over-carbonated.
- Siphoning (It all happens pretty fast. You may want to practice on a pot of water a few times.) To see it in action first, watch the How to Bottle video at brooklynbrewshop.com/instructions.
- Attach open tubing clamp to tubing.
- Fill tubing with sanitizer.
- Attach sanitized tubing to the short curved end of your sanitized racking cane. Attach the black tip to the other end – it will help prevent sediment from getting sucked up. It will probably be a snug fit, but you can get it on there.
- Pinch tubing clamp closed.
- Remove screw-cap stopper and place racking cane into jug, just above the sediment at the bottom (“trub”).
- Lower end of tubing not connected to racking cane into sink. Suction will force beer up and through the racking cane and tubing. Open tubing clamp, let sanitizer flow into sink until beer just starts to flow out of the tubing, then clamp shut. Open clamp on tubing, allowing beer to flow into pot with sugar solution. Tilt jug when beer level is getting low, but be careful in not sucking up the trub.
- Siphon beer from pot into bottles, pinching tube clamp to stop flow after each bottle.
- Close bottles.
- Store in a dark place for 2 weeks.
Two Weeks Later: Enjoying and Making Friends
- Put beers in the fridge the night before you drink them.
- Drink. Share with friends if you’re the sharing type. Or barter for fresh river trout {more on that later}
MORE SCRATCH PROJECTS {get back to your roots}
CHEESE | Homemade Fresh Mozzarella
CHEESE | Homemade Ricotta
BREAD | 101: How to Make Bakery Quality Bread @Home
MUSTARD & PRETZELS | Homemade Soft Pretzels and Mustard
PICKLES | Homemade Spicy Pickled Carrots
KIMCHI | Homemade Spicy Carrot Kimchi! & Apple Chutney!