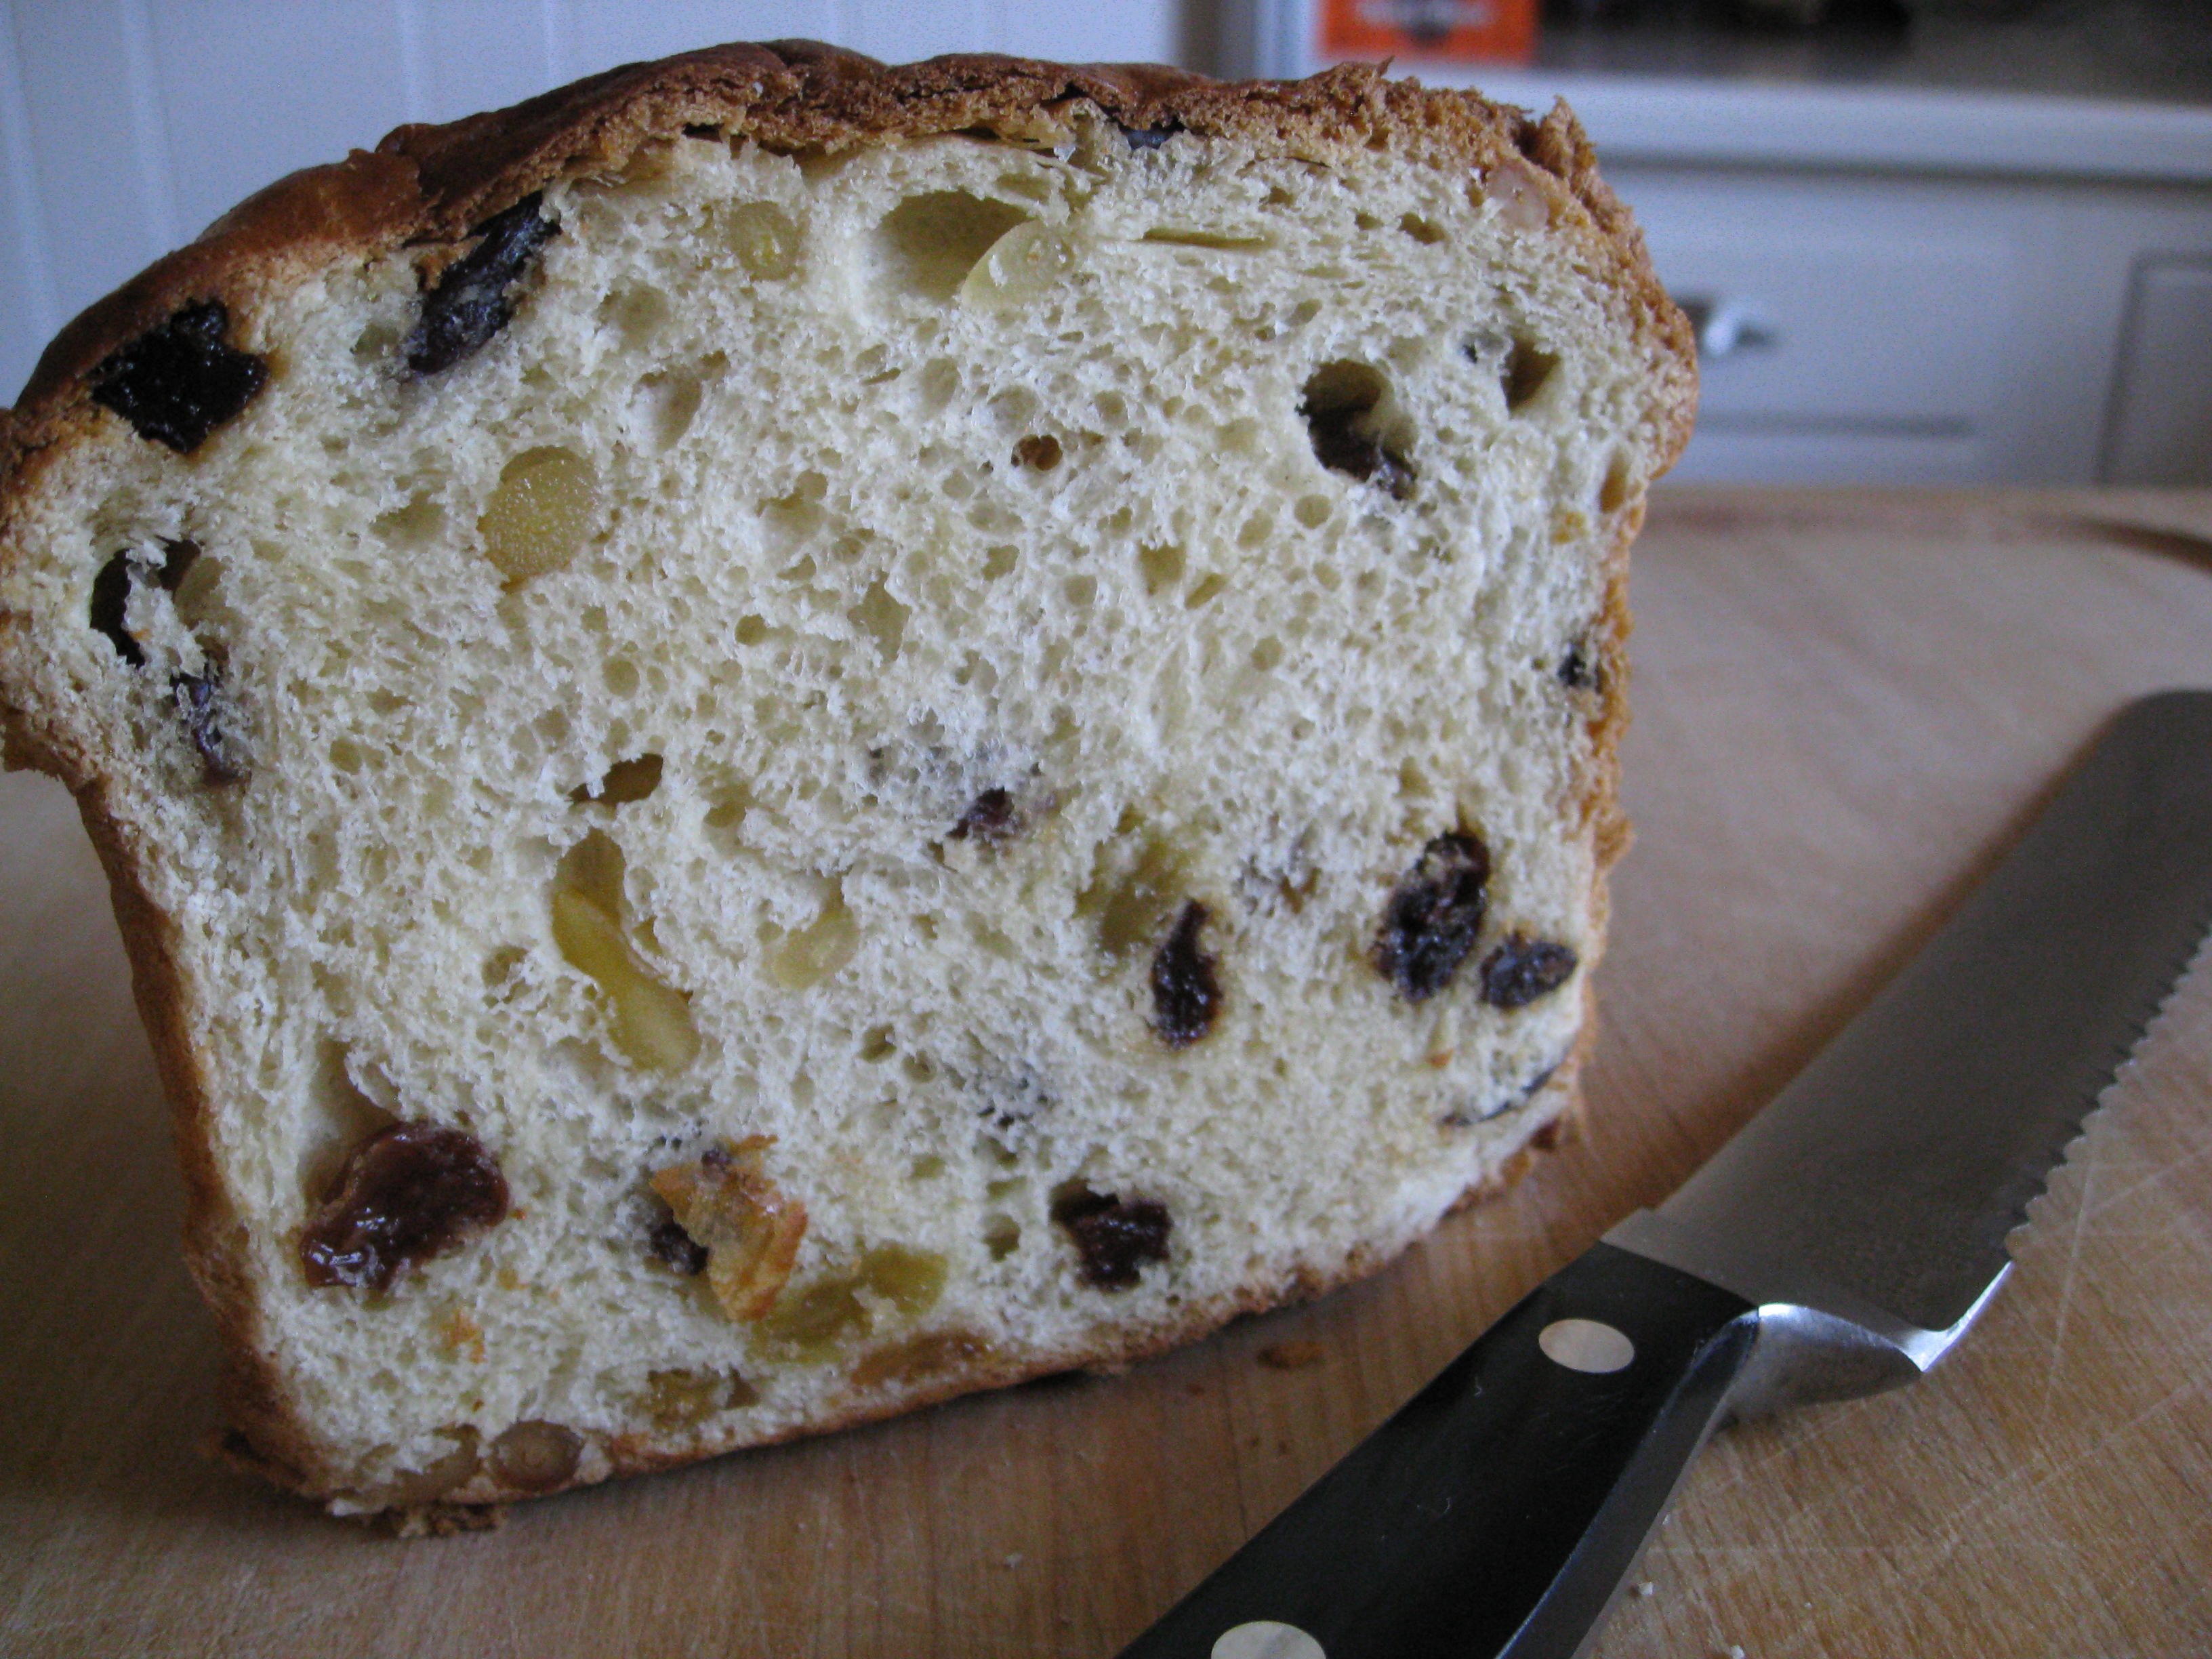
Take a bite
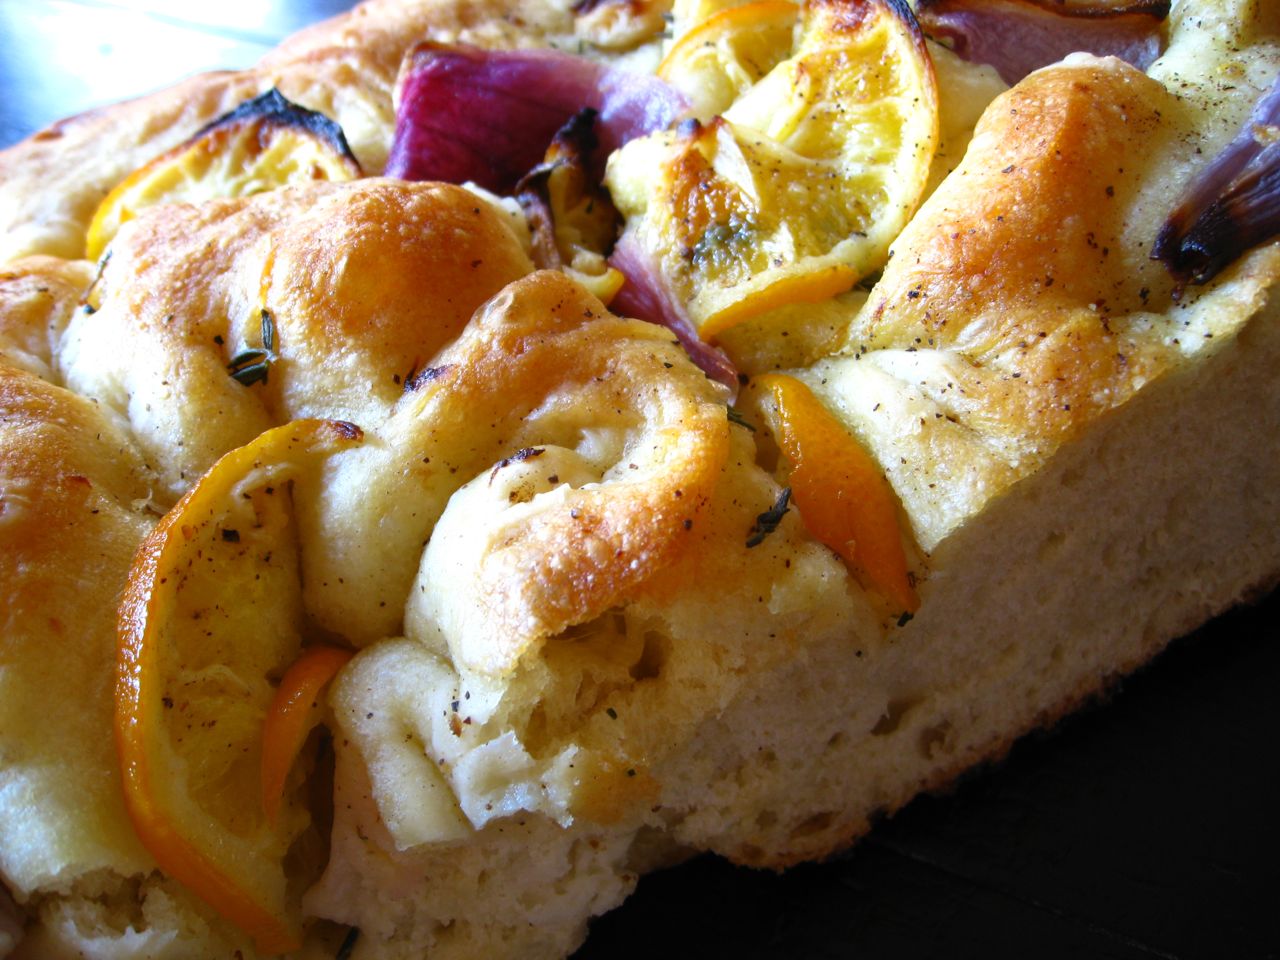
I took a breadmaking class with Matthew Tilden of SCRATCHbread a few years ago and learned what is quite possibly the best focaccia recipe I’ve ever had. The inside has a spongy spring that makes focaccia the type of bread you want to sop up whatever needs sopping. But the difference in his recipe is that the lovely springy inside is enrobed in a crackly crust that seems to be missing from too many other oily focaccia phantoms.
I love when focaccia is permeated with other delicious treasures. Inspired by the suitcase of meyer lemons I just toted back from San Fran and a meyer lemon focaccia recipe we just published on Food52, I decided a weekend project was calling my name. This SCRATCHbread recipe was asking for some sweet lemon love.

Thinly slice, sprinkle with coarse salt and let drain to remove some moisture.
SCRATCHbread Focaccia (3-3.5 hours total; 3 cake pans)
2 lbs. – all purpose Unbleached Unbromated Flour (preferably organic)
8 oz – “oo” Fancy Durum Flour
1.5 lbs. Water (warm 90-100 degrees)
1 oz – compressed “brick” yeast
1 oz – Sea Salt (coarse grey)
1 TBS – Honey
Olive Oil (lots!)
Toppings — whatever your heart desires (in this recipe I used one meyer lemon, one red onion, fresh thyme, whole grain mustard, cracked black pepper and coarse salt)
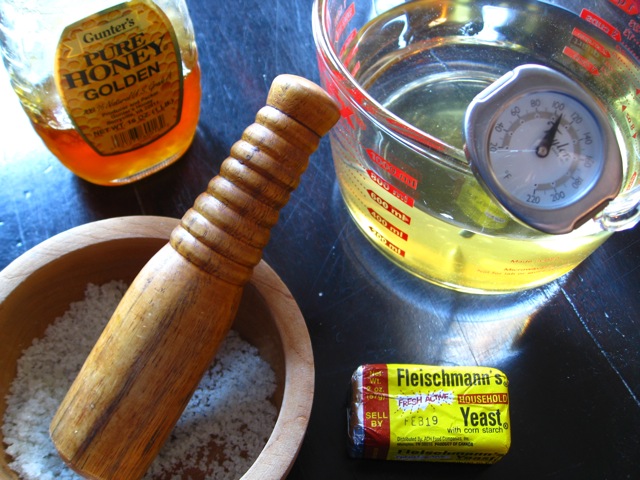
Prepare yeast, honey and ground salt
- 1. Mix and dissolve yeast, honey & salt (crush salt with mortar and pestle if using coarse grains) with warm water. Set Aside. Make sure water is warm, not hot or you will kill the yeast.

- In a large bowl (or mixer, but we used our hands) add flour and then water mixture, incorporate into shaggy mass.
- If using a mixer, continue mixing with dough hook until dough comes together and begins pulling away from the sides, about 1.5 minutes. Add about 2T of olive oil to lather and let it mix in for about 20 seconds.
- If using your hands, scrape dough onto a clean surface and practice the slam and flip method! Take the dough, slam it down hard, it will spread out, take one end and fold it over the other end, grab the dough at the end closest to you and slam it down again (it will be sticky and that’s ok). Repeat this process for 1-2 minutes until the dough comes together and the gluten has some toughness to it (if you were to pull on the dough it fights back.) Form into a smooth round ball and pour about 2T of olive oil over the dough ball, massaging all over.
- Pour ~2T of olive oil in a clean bowl to “grease” sides. Put the olive oil lathered dough in bowl and cover with saran wrap or a clean towel. Let rise until doubled, about 1 hr 30 minutes in an 80-90 degree environment (you can put near a heater of turn your oven on and set bowl on a chair near the oven vent.)
- Once dough is doubled in size and super fluffy, pour onto a clean dry surface and fold over itself into a tight mass. Begin beating the living crap out of the dough. Punch it, elbow it, release all frustrations as you are basically giving it life by pulverizing it. So consider this a good deed to the dough. You can repeat the slam and flip method. Once the mass has had its way, let the beaten mass rest for about 15 minutes. Before dividing into desired shapes/pans. (We used a knife to cut this amount into thirds and made 3 pans.)
- I recommend a heavy non-stick cake pan (square or round) because you can take advantage of the rising capabilities and add more toppings, which is always nice.
- Coat the pan in olive oil and add third of dough to each pan. Massage with your finger tips, using a “piano finger motion” to form crevasses and spread the dough. Pour MORE olive oil over the dough to coat and collect in yummy olive oil pools in the crevasses. This is sort of the secret for super sexy focaccia goodness. Let the dough rest for 30 minutes in the pan.
-

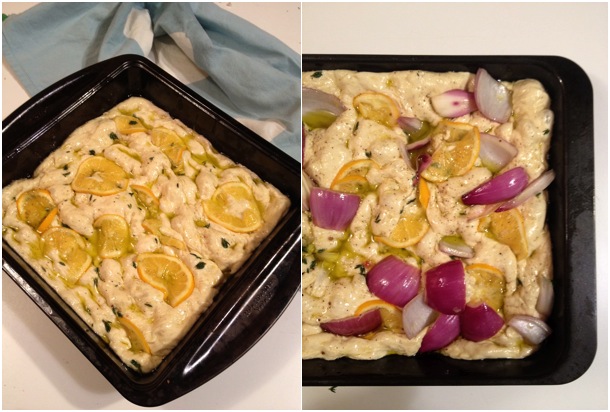
Left: Meyer lemon-thyme. Right: Red onion-meyer lemon-coarse mustard
You will notice after about 30 minutes, the dough has taken a fluffier approach to its existence and at that point you add the toppings you desire – get creative, but here are a few suggestions! His secret was the coarse black pepper (gave it a really good bite!) And very coarse salt (for that salty goodness) If you use onion, cut them up earlier and toss with coarse salt to remove some of the moisture – toppings with moisture can prevent the focaccia from crisping nicely. I also like to do different combinations in different pans to have lots of options.
- Rosemary, grey salt (coarse), more olive oil!
- Thinly sliced meyer lemon, red onion quarters, fresh thyme, coarse grey salt, more olive oil!
- Crushed garlic, rosemary, thyme, coarsely ground black pepper & salt, more OO
- Whole grain mustard, speck, coarsely ground black pepper and salt, more OO
- Add your toppings and MORE OLIVE OIL!! Massage into the dough, again using the piano finger method. This will get the flavors and ingredients mixed in and attached nice and good to the dough. Anything that might burn or turn bitter should be added after you take out of the oven (fresh basil, lemon zest, etc.)
- Really make a point to pool the olive oil, as this will provide a very moist rich dough once cooked as well as give you the desired crust considering you don’t have a seriously hot wood burning oven.
- Bake 425 degrees for about 35-50 minutes (mine took 35), rotating half way. Make sure to take it to a really nice dark golden brown. It’s ok if the toppings start to slightly char – adds to the flavor! When done, immediately and CAREFULLY remove the hot sexy bread mass onto a cooling rack from the pan (pull it out with a knife or fork on one of the sides) so that the crust will become crusty! Let it cool to room temperature so you don’t burn your mouth and let the moisture set. Fight back the crowds.

Crispy Focaccia Goodness