Tag Archives: Baking

recipe goodness :: grandma dilaura’s panettone

Grandma DiLaura's Panettone

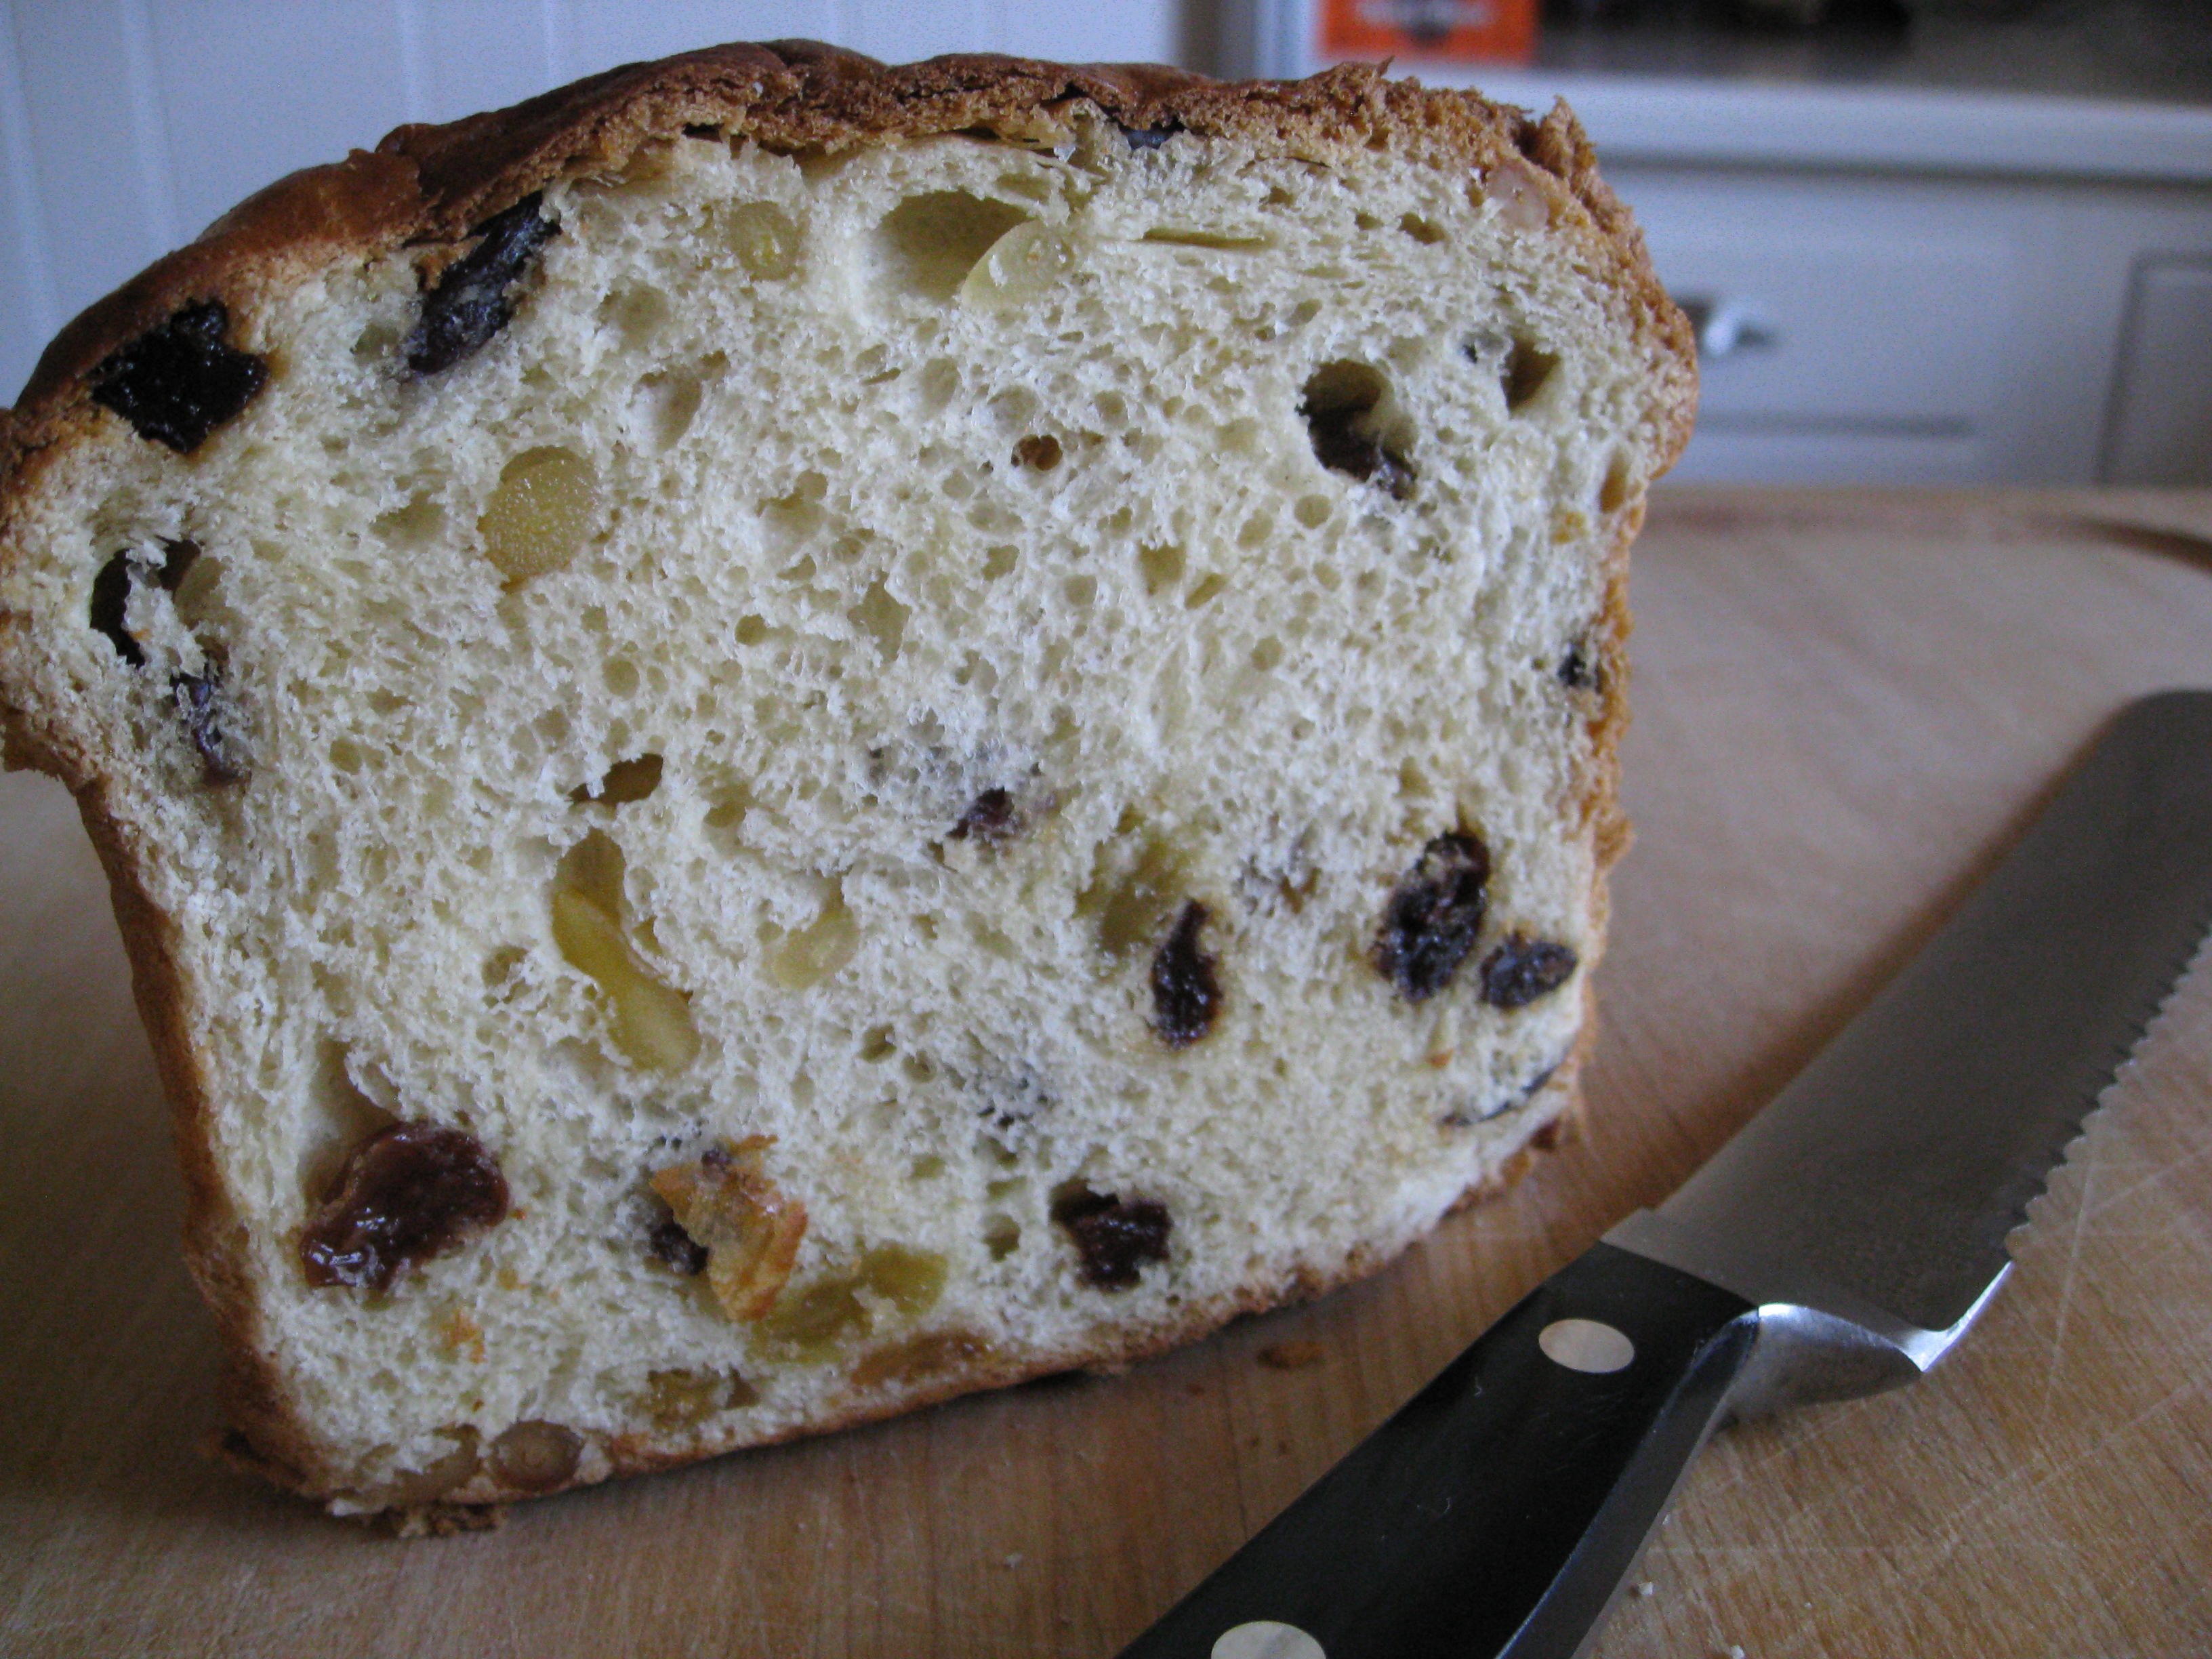
Grandma DiLaura’s Panettone (Photo by James Ransom for Food52)

We don’t deviate much from the past when it comes to the DiLaura Christmas morning menu. Since my earliest memories of Santa Claus and pink bikes with baskets, Christmas morning always starts with a buttered slice of my Grandma DiLaura’s toasted panettone. The smell of sweet anise wafting from downstairs is a sign that ‘ole St. Nick has done his job.

Our recipe dates back to the late 1800s Florence, where my grandmother’s sister’s mother-in-law was an award-winning baker. Of course the story goes that she never used a recipe and no one has ever been able to make it as good since.

While my grandma was smart enough to write down the measurements for this edible heirloom, there were some parts of her recipe that did not get recorded. My grandma had a special heavy wooden chair that lived in the basement 364 days of the year. On panettone-making day, the chair was ceremoniously brought up to the kitchen where she placed a huge stockpot atop the seat and got to work mixing all of the ingredients with her special oversized wooden spoon.

A Cut Above the Rest

A Cut Above the Rest

After my parents married, my mom began helping on the big day and made the mistake of suggesting it might be easier to mix the large batch, of what is quite sticky dough, with her hands. To which my grandma promptly replied, “Oh no, honey you can’t do that, you have to use the spoon.” Deviate she did not.

My grandmother has since passed on, but my mom has heroically carried on the tradition of making our annual panettone. Our recipe is different from many you’ll find in stores, which often include candied fruit. We prefer a mix of dark and golden raisins with pine nuts, but of course you could make it however you prefer. After all, my mom ditched the wooden spoon and has been hand-mixing since taking over the panettone helm.

This recipe makes about 16 pounds of bread, which my mom breaks up into four large 2 1/4 pound loaves and four smaller 1 3/4 pound loaves. She gives everyone in the family a loaf and also freezes a few. You could easily cut the recipe in half, but your friends and neighbors will thank you if you don’t!

Grandma DiLaura’s Panettone

Makes 16 pounds of bread (about 8 loaves)

5 cups whole milk
4 cups sugar, plus 1/4 cup for yeast
1 pound unsalted butter
1/4 cup shortening (or use all butter)
1 teaspoon anise oil (if you can’t find oil, substitute 4 teaspoons anise extract)
9 packets non-instant yeast
5 pounds all-purpose flour, plus 5 cups (plus 4-5 more cups for kneading)
6 teaspoons salt
8 large eggs
15 ounces golden raisins (soaked in hot water to plump if dry)
30 ounces dark raisins (soaked in hot water to plump if dry)
1/2 pound pine nuts
1 egg yolk, plus 1 tablespoon water for brushing tops

  1. In a medium saucepan, scald milk with 4 cups sugar, stirring often. Then add butter and shortening (or all butter), and melt, stirring often.
  2. Remove from the stove and add anise oil or extract to milk/butter/sugar mixture. Let cool slightly.
  3. Dissolve yeast and 1/4 cup sugar in enough warm water to cover (1 1/2 to 2 cups) and let double in volume.
  4. In a large bowl, mix 5lbs plus 5 cups flour and salt. Add raisins and pine nuts.
  5. Add slightly cooled milk to flour mixture. Add eggs and mix together with large wooden spoon. Add yeast mixture and mix well. Grease your hands and mix and knead for about 5 to 10 minutes in the bowl (adding 4 to 5 cups flour as needed). Dough will be very sticky.
  6. Grease sides of bowl, cover with greased plastic wrap and several towels, and let dough rise in a warm place for 1 1/2 to 2 hours, until doubled.
  7. Grease loaf pans — we use four large (9 5/8 x 5 1/4 x 2 3/4) and four small (8 1/2 x 4 1/2 x 2 5/8). Lightly squeeze to release any air bubbles and shape dough and put in pans. Cover with greased plastic wrap and towels and let rise for 1 1/2 hours.
  8. Bake at 350 F for about 20 minutes.
  9. If using multiple oven racks, rotate loaves, then lower oven to 325 F and bake for 20-25 minutes, or until top is a medium golden color.
  10. After bread is baked, brush tops with egg yolk and water mixture and return to oven for about 5 minutes.

What Else Did Grandma Whip Up?
Grandma DiLaura’s Lemon Madeleines
Secret DiLaura Family Frittata with Sweet Italian Sausage

Grandma’s Italian Wedding Chicken Soup
Homemade Gnocchi and Sauce: Channeling My Italian Grandmother
Violet’s Lemon Cheesecake

2 Comments

Filed under @home {recipes to love}

Breadmaking 101: How to Make Bakery Quality Bread @Home

Homemade Bread

Yes, you too can achieve these results. No, you don’t need a bread machine or fancy mixer. Just your two hands, and the recipe below. This is the week of generously sharing family secrets to put excellent handmade food on your table.

A good meal is not complete without a great crusty bread that is also soft and chewy on the inside. I never thought this was something that could be accomplished at home, but after spending the day with my highly talented cousin, KimNora, I learned differently and a new bread baker was born! KimNora has been perfecting her bread for many years, experimenting with technique, ratios and environment, to create a bread that would give even Daniel Boulud a run for his money!

Homemade Crusty Whole Wheat Bread {Stretch & Fold Method}

Makes 1 Loaf | Total Time: 4 hours

2 cups unbleached bread flour {~305 grams}
1.5 cups whole wheat flour {~213 grams}
50 grams dried spent grain {optional}
2.5 teaspoons kosher salt {~14 grams}
2 teaspoons (scant) rapid rise dry yeast
Optional: 1 Tablespoon (scant) barley malt powder {~14 grams}
1 tablespoon each of fresh rosemary, sage, thyme, finely chopped
450 milliliters room temperature filtered water
corn meal for dusting proofing basket

  1. If you want to flavor your bread {ideas: thyme-rosemary-sage, thyme-meyer lemon, rosemary-meyer lemon, raisin}, add the zest and herbs to the water and let sit for 15-20 minutes to infuse with the flavors. Raisins are best when they are plump, not totally dry, so letting them absorb some of the water is key.
  2. Add all dry ingredients to a large bowl and mix thoroughly with a whisk.
  3. Create a well in the middle and slowly add half the water, stirring  with a butter knife {tip: this is an easy tool to pull sticky dough from}. As the dough comes together add remaining water to the center and stir with the knife to bring in the remaining flour, working from the center outwards, so as to minimize the amount of dough that sticks to the side of the bowl. Dough should be slightly sticky, but not smooth at this point. If it is too sticky add a few pinches of bread flour.
  4. Cover the top of the dough loosely with plastic wrap and allow to sit for 10 minutes so flour hydrates and gluten bonds form.
  5. After 10 minutes, dip hands and bread scraper in olive oil to prevent dough from sticking. Loosen dough from sides of the bowl and gently work into a smooth ball.
  6. Lightly pour olive oil on counter or marble working surface and spread with hands to oil both your hands and surface.
  7. Grab the dough with oiled hands and  bring to the oiled counter to gently stretch the dough into somewhat of a rectangle shape. DO NOT pull or tear at dough — you just want to gently work it from the center to the outside to reshape.
  8. While gently stretching the dough by grabbing one end, pull it up and fold like a letter into thirds. Right side folded first, then left side over that {stretch and pull, but don’t let the dough tear}. Then take the opposite ends that were just folded and fold into thirds again — top to the center and the bottom over that, stretching and folding. In the end, you will have almost a square shape.
  9. Return the dough to the bowl, cover with plastic wrap to prevent drying out for 10 more minutes.
  10. Repeat steps 5-8 two more times, so you will have stretched and folded and let rest for a total of 3 times. After the 3rd stretch and fold, allow the dough to rise for 1 hour, covered with plastic wrap.
  11. After 1 hour rise, very lightly flour the surface and remove dough from the bowl to the counter. Spread and fold a 4th time and then start to form into a smooth ball by grabbing the edges and tucking the dough under itself, turning as you smooth and round the ball.
  12. Generously add corn meal to a bread banneton {or place a clean towel in a small bowl and flour the towel}. Generously flour your hands and pick up the ball of dough, adding it to the basket or bowl, smooth side down, so your tucking seam is facing up. Gently pinch the seam to smooth the top of the dough facing up.
  13. Cover with plastic wrap and let allow for a 2nd rise for 30-40 minutes. Meanwhile make sure your rack is in the center of the oven, with no rack above it and turn on your oven to 500 ºF with a metal baking sheet, pizza stone, piece of slate or terra cotta tiles on the rack to come to temperature with the oven.
  14. After rise is complete, work quickly {so you don’t lose your heat} to dump dough from your basket onto the hot slate or pizza stone and using your sharpest knife or a bread lame, slash a fairly deep cut across the center and in any design you would like. Cutting the dough will open it up to expand upward, giving you good rise and will also look beautiful!
  15. Turn oven down to 450ºF and cook for ~30-40 minutes.
  16. Around 30 minutes, be sure to smell for any burning — remove immediately if necessarily. When bread has a nice dark crust, remove to the counter and while holding with one hand (use an oven mitt) check the temperature of the bread by inserting a thermometer in the bottom of the bread. If it reads 200-205º, it’s done! Add back to the oven if any less than 200.
  17. The hardest part: resist the temptation to slice into your masterpiece right away, allowing it to cool for 1-2 hours as it completes its baking process on a wire rack on the counter.

The Art of Baking Bread:

Steps 1-4

Steps 5-7

Step 11: Smooth side down, pinch to close the tuck seam

Step 12: Final Rise

Step 14: Dump on cooking stone, slash, add water and close!

Step 16: Check Temp for 200-205 deg

Step 17: Leave it alone, admire from afar!

Enjoy Bakery Quality Bread at Home

The Rise on More Family Secrets:
Secret DiLaura Family Frittata with Sweet Italian Sausage
Grandma’s Italian Wedding Chicken Soup
Homemade Gnocchi and Sauce: Channeling My Italian Grandmother
Violet’s Lemon Cheesecake with BBQ’d Summer Berries

4 Comments

Filed under 8.ate@eight, @home {recipes to love}